Specifications
The specifications of a ball valve typically include key details that define its design, construction, and operational capabilities. Here are the typical specifications you might find for a ball valve:
Size: The size specification indicates the nominal diameter of the valve, usually expressed in inches or millimeters, and denotes the size of the pipeline for which the valve is designed.
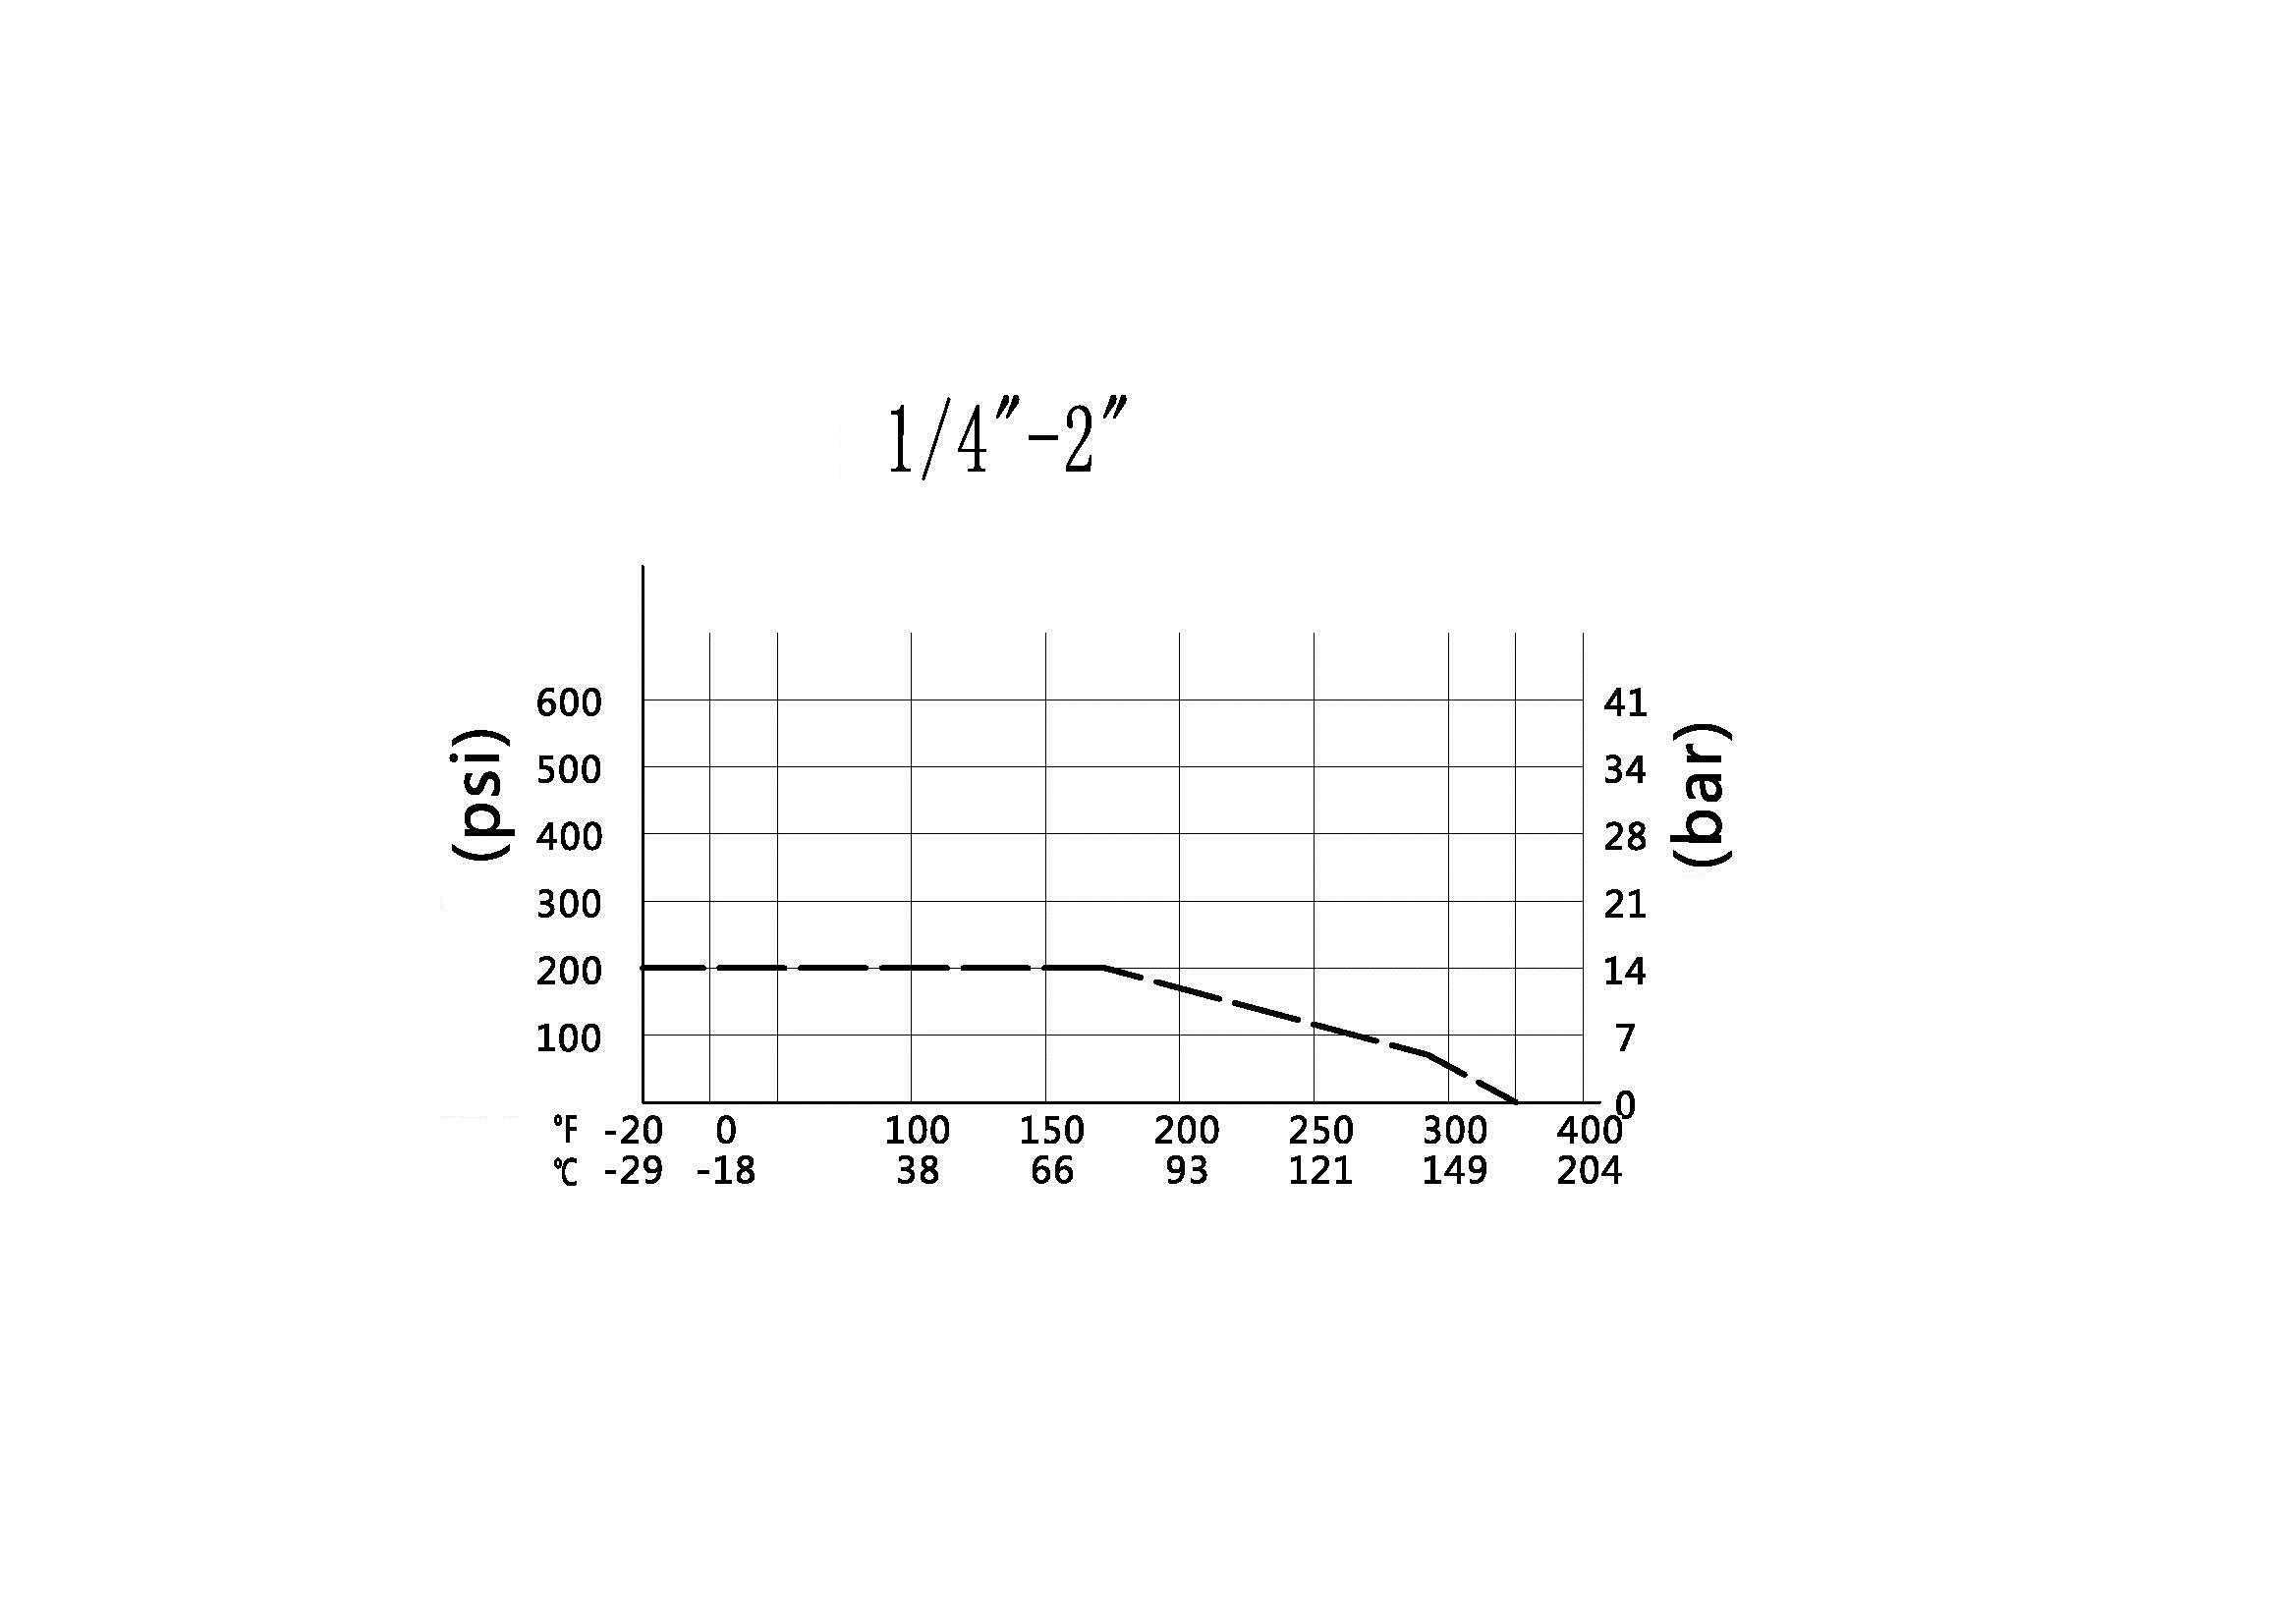
Pressure rating: This specification defines the maximum pressure at which the valve can safely operate, often specified in pounds per square inch (psi) or bars. It is crucial to ensure the valve is compatible with the operating pressure of the system.
Temperature rating: The temperature rating specifies the range of temperatures within which the valve can effectively function without compromising its integrity or performance. The temperature rating is typically expressed in degrees Celsius or Fahrenheit.
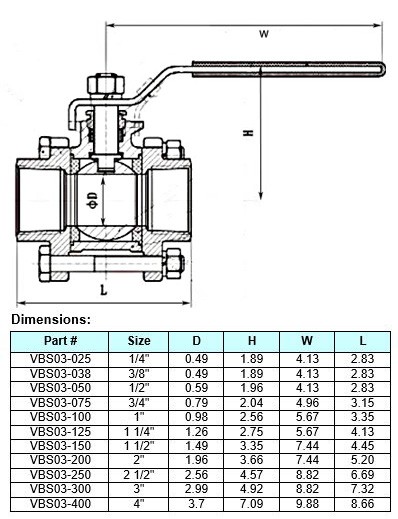
Dimensions
| Pipe Size |
1/2″ – 6″. Above that call for price. |
Details
| Body Material |
Carbon Steel, 304, 316 Stainless Steel |
| Body Style |
Inline |
| Max. Pressure |
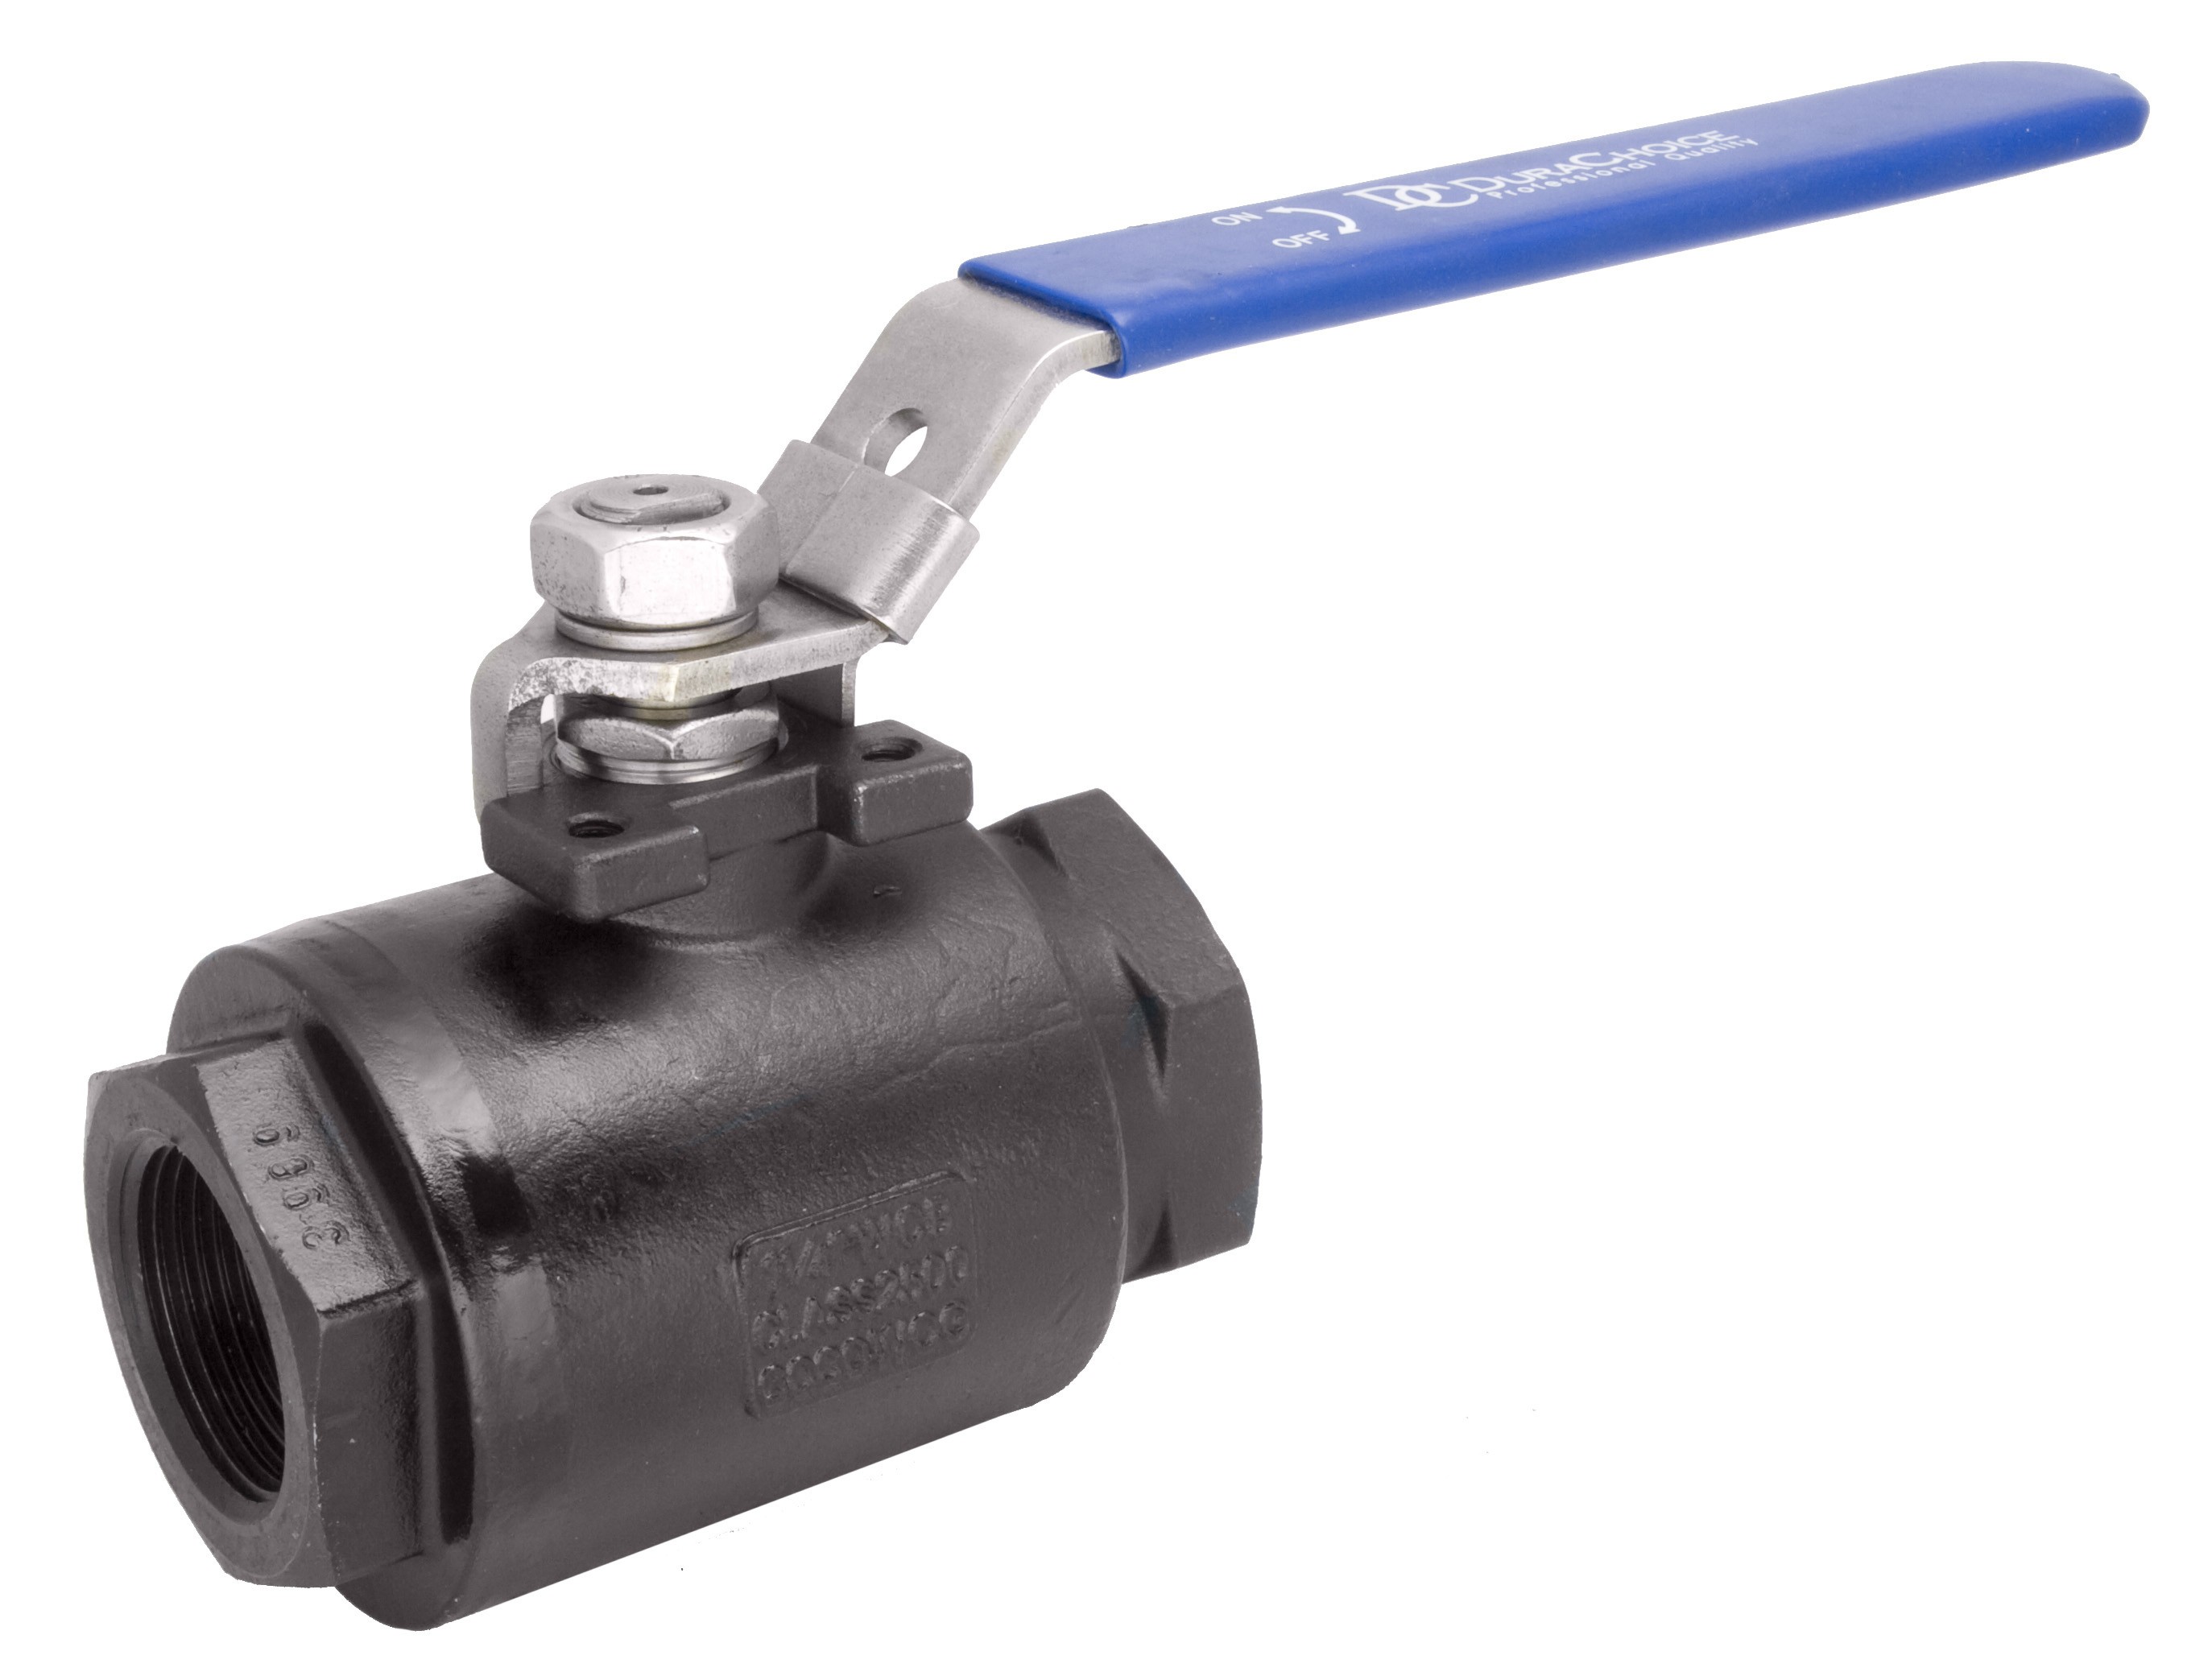
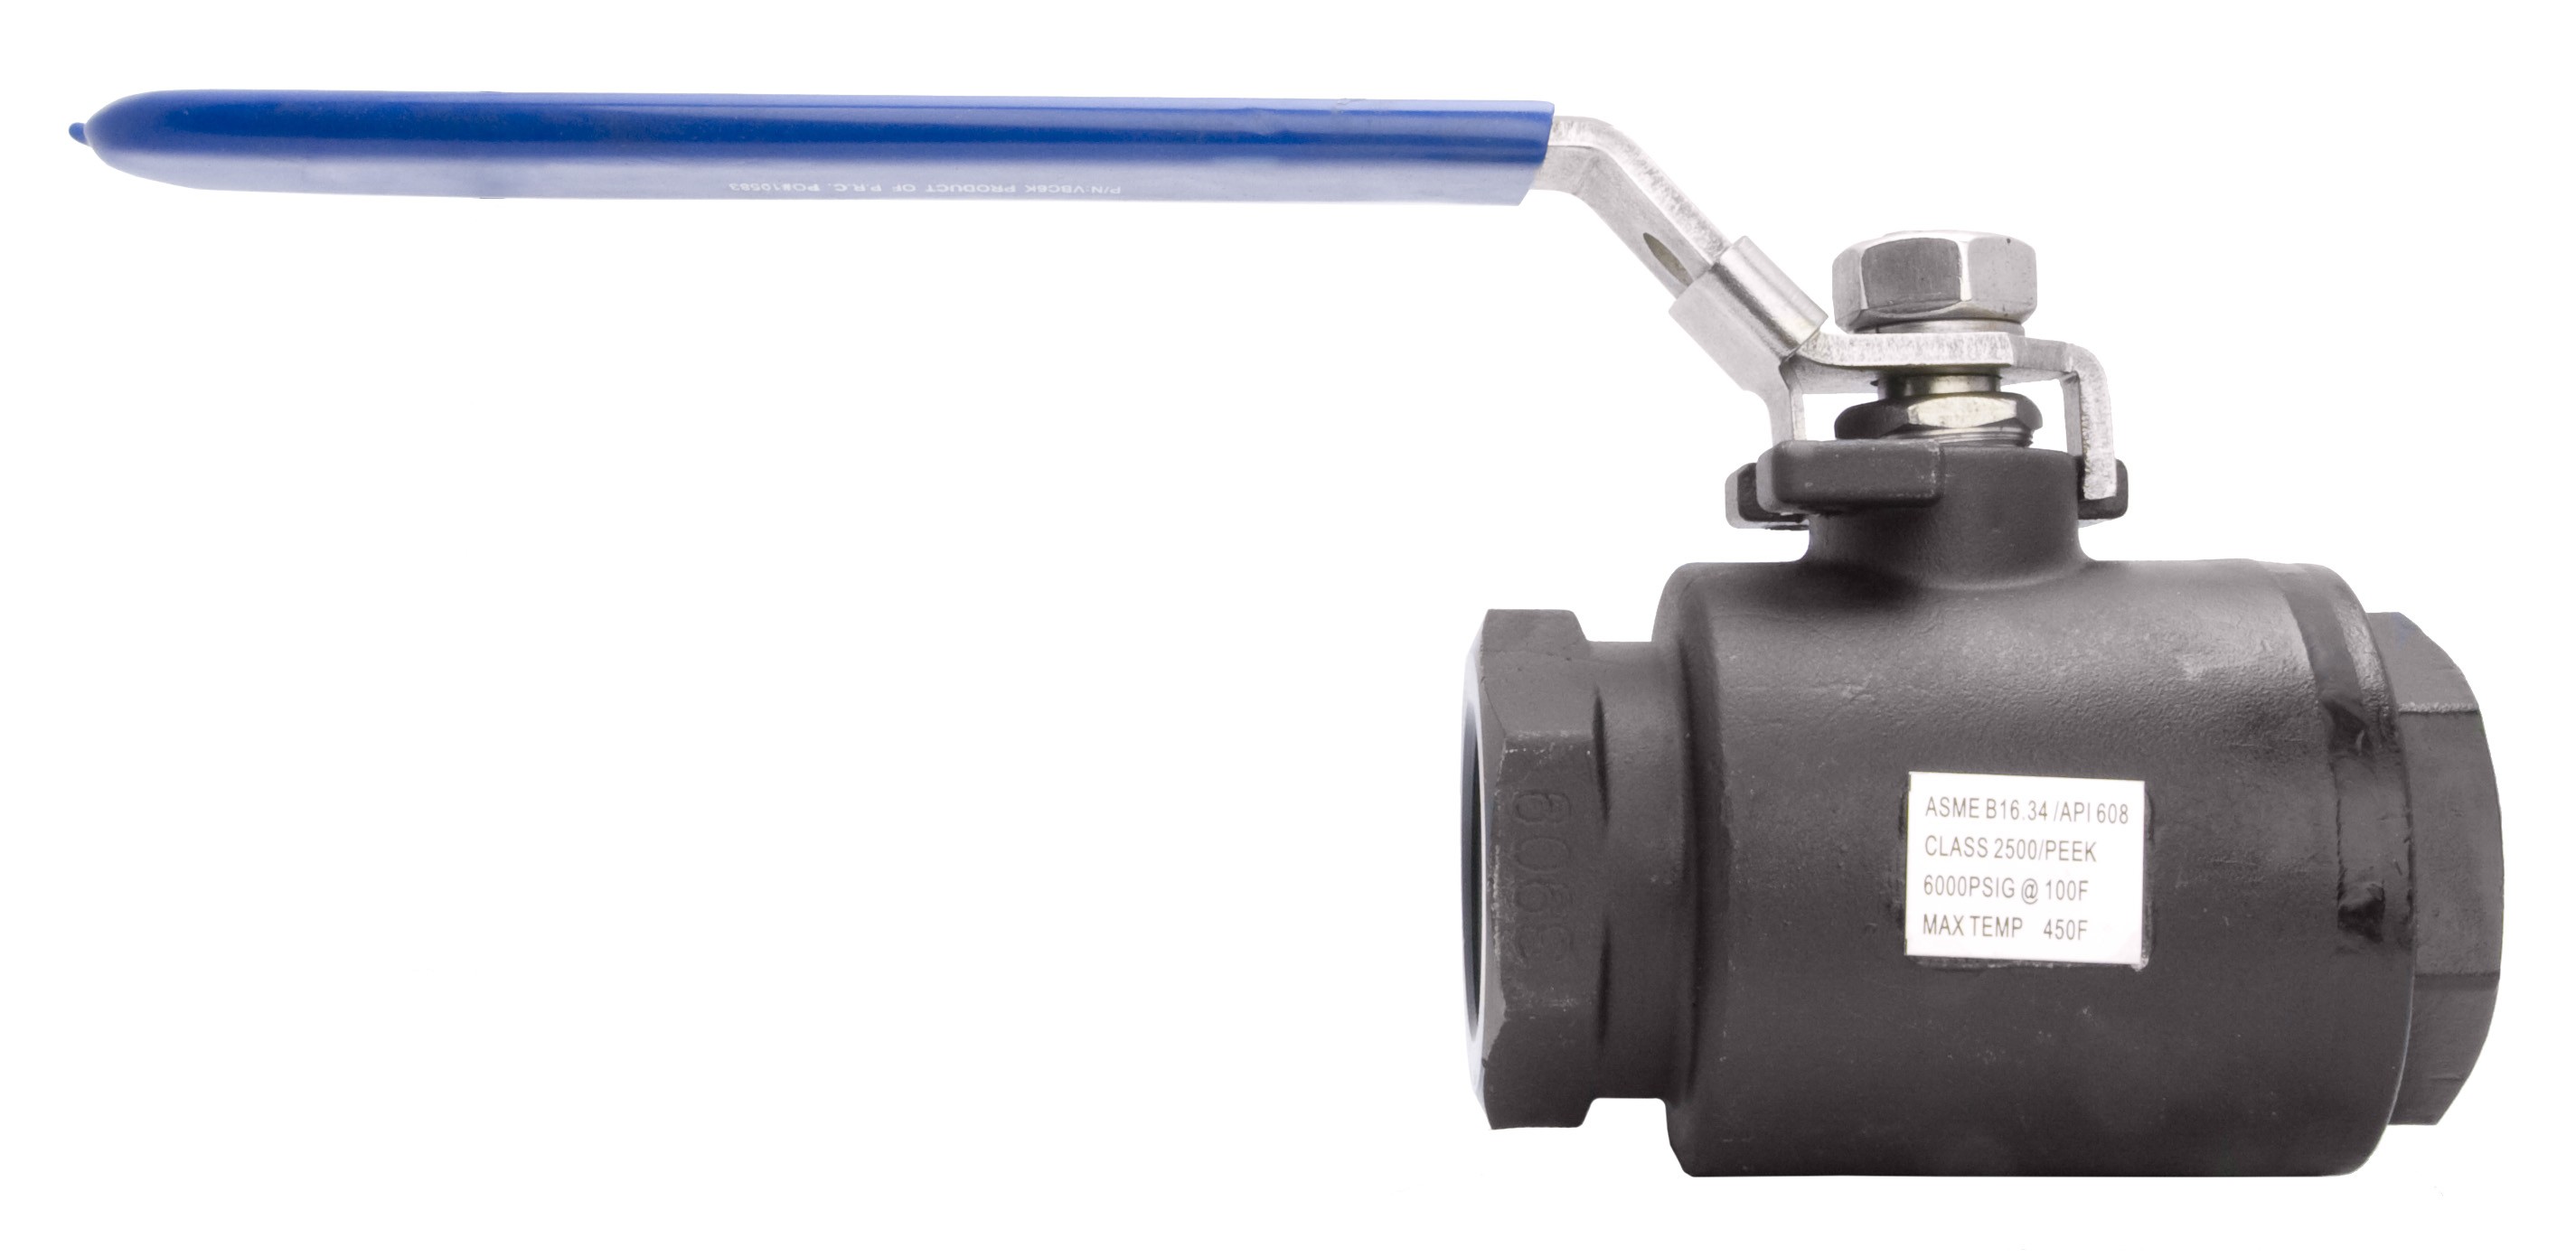
600 PSIG CWP (Default), up to 2500 PSIG |
| Body Seal Material |
PTFE |
| Compliance |
RoHs |
| Stem Type |
Blowout Proof |
| Ball Valve Basic Body Material |
Stainless Steel |
| Seat Material |
PTFE |
| Handle Type |
Lever |
| Standards |
MSS-SP-110 |
| Connection Type |
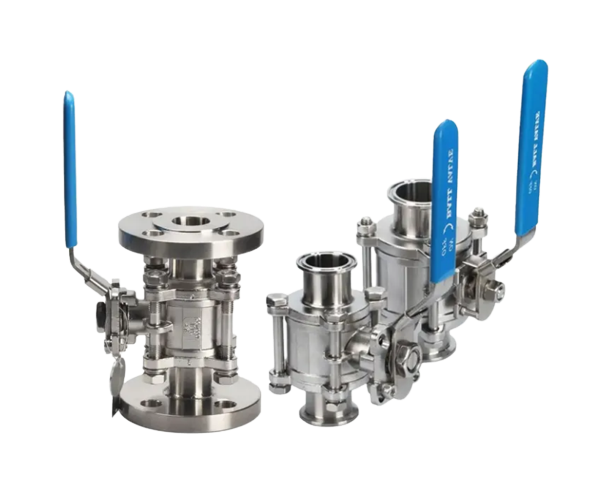
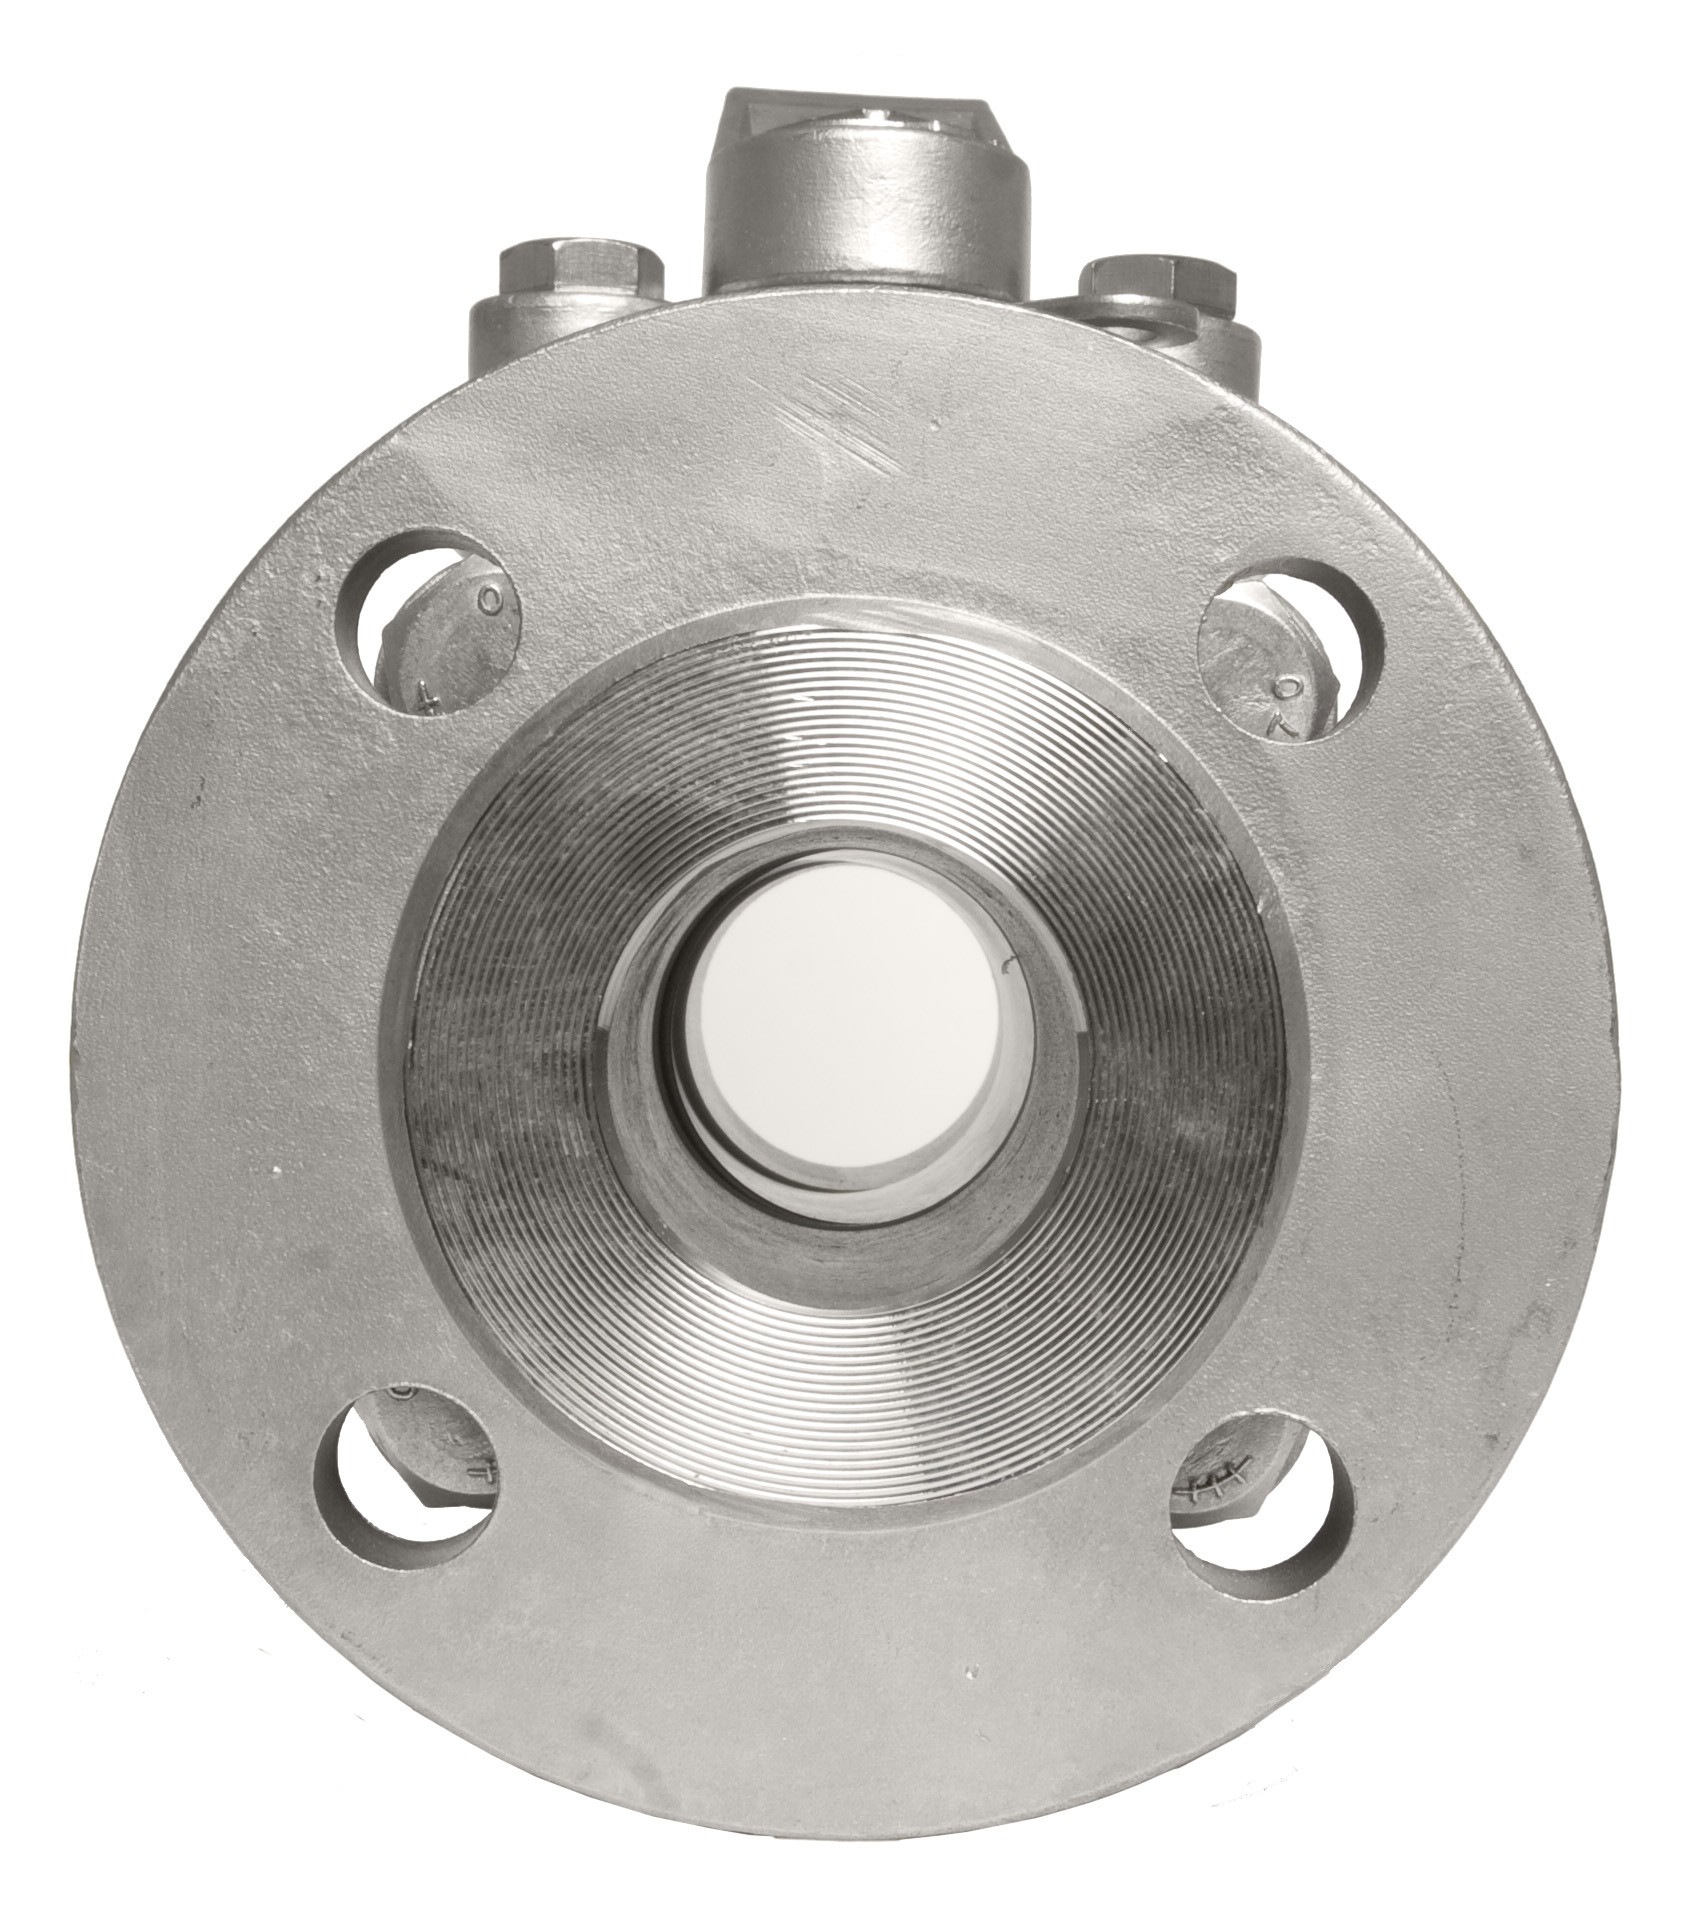
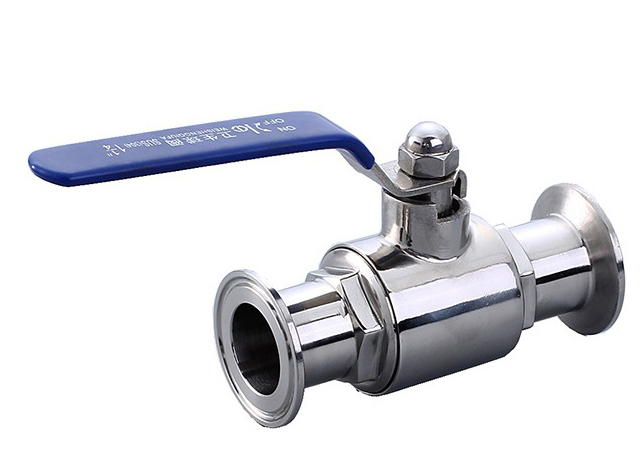
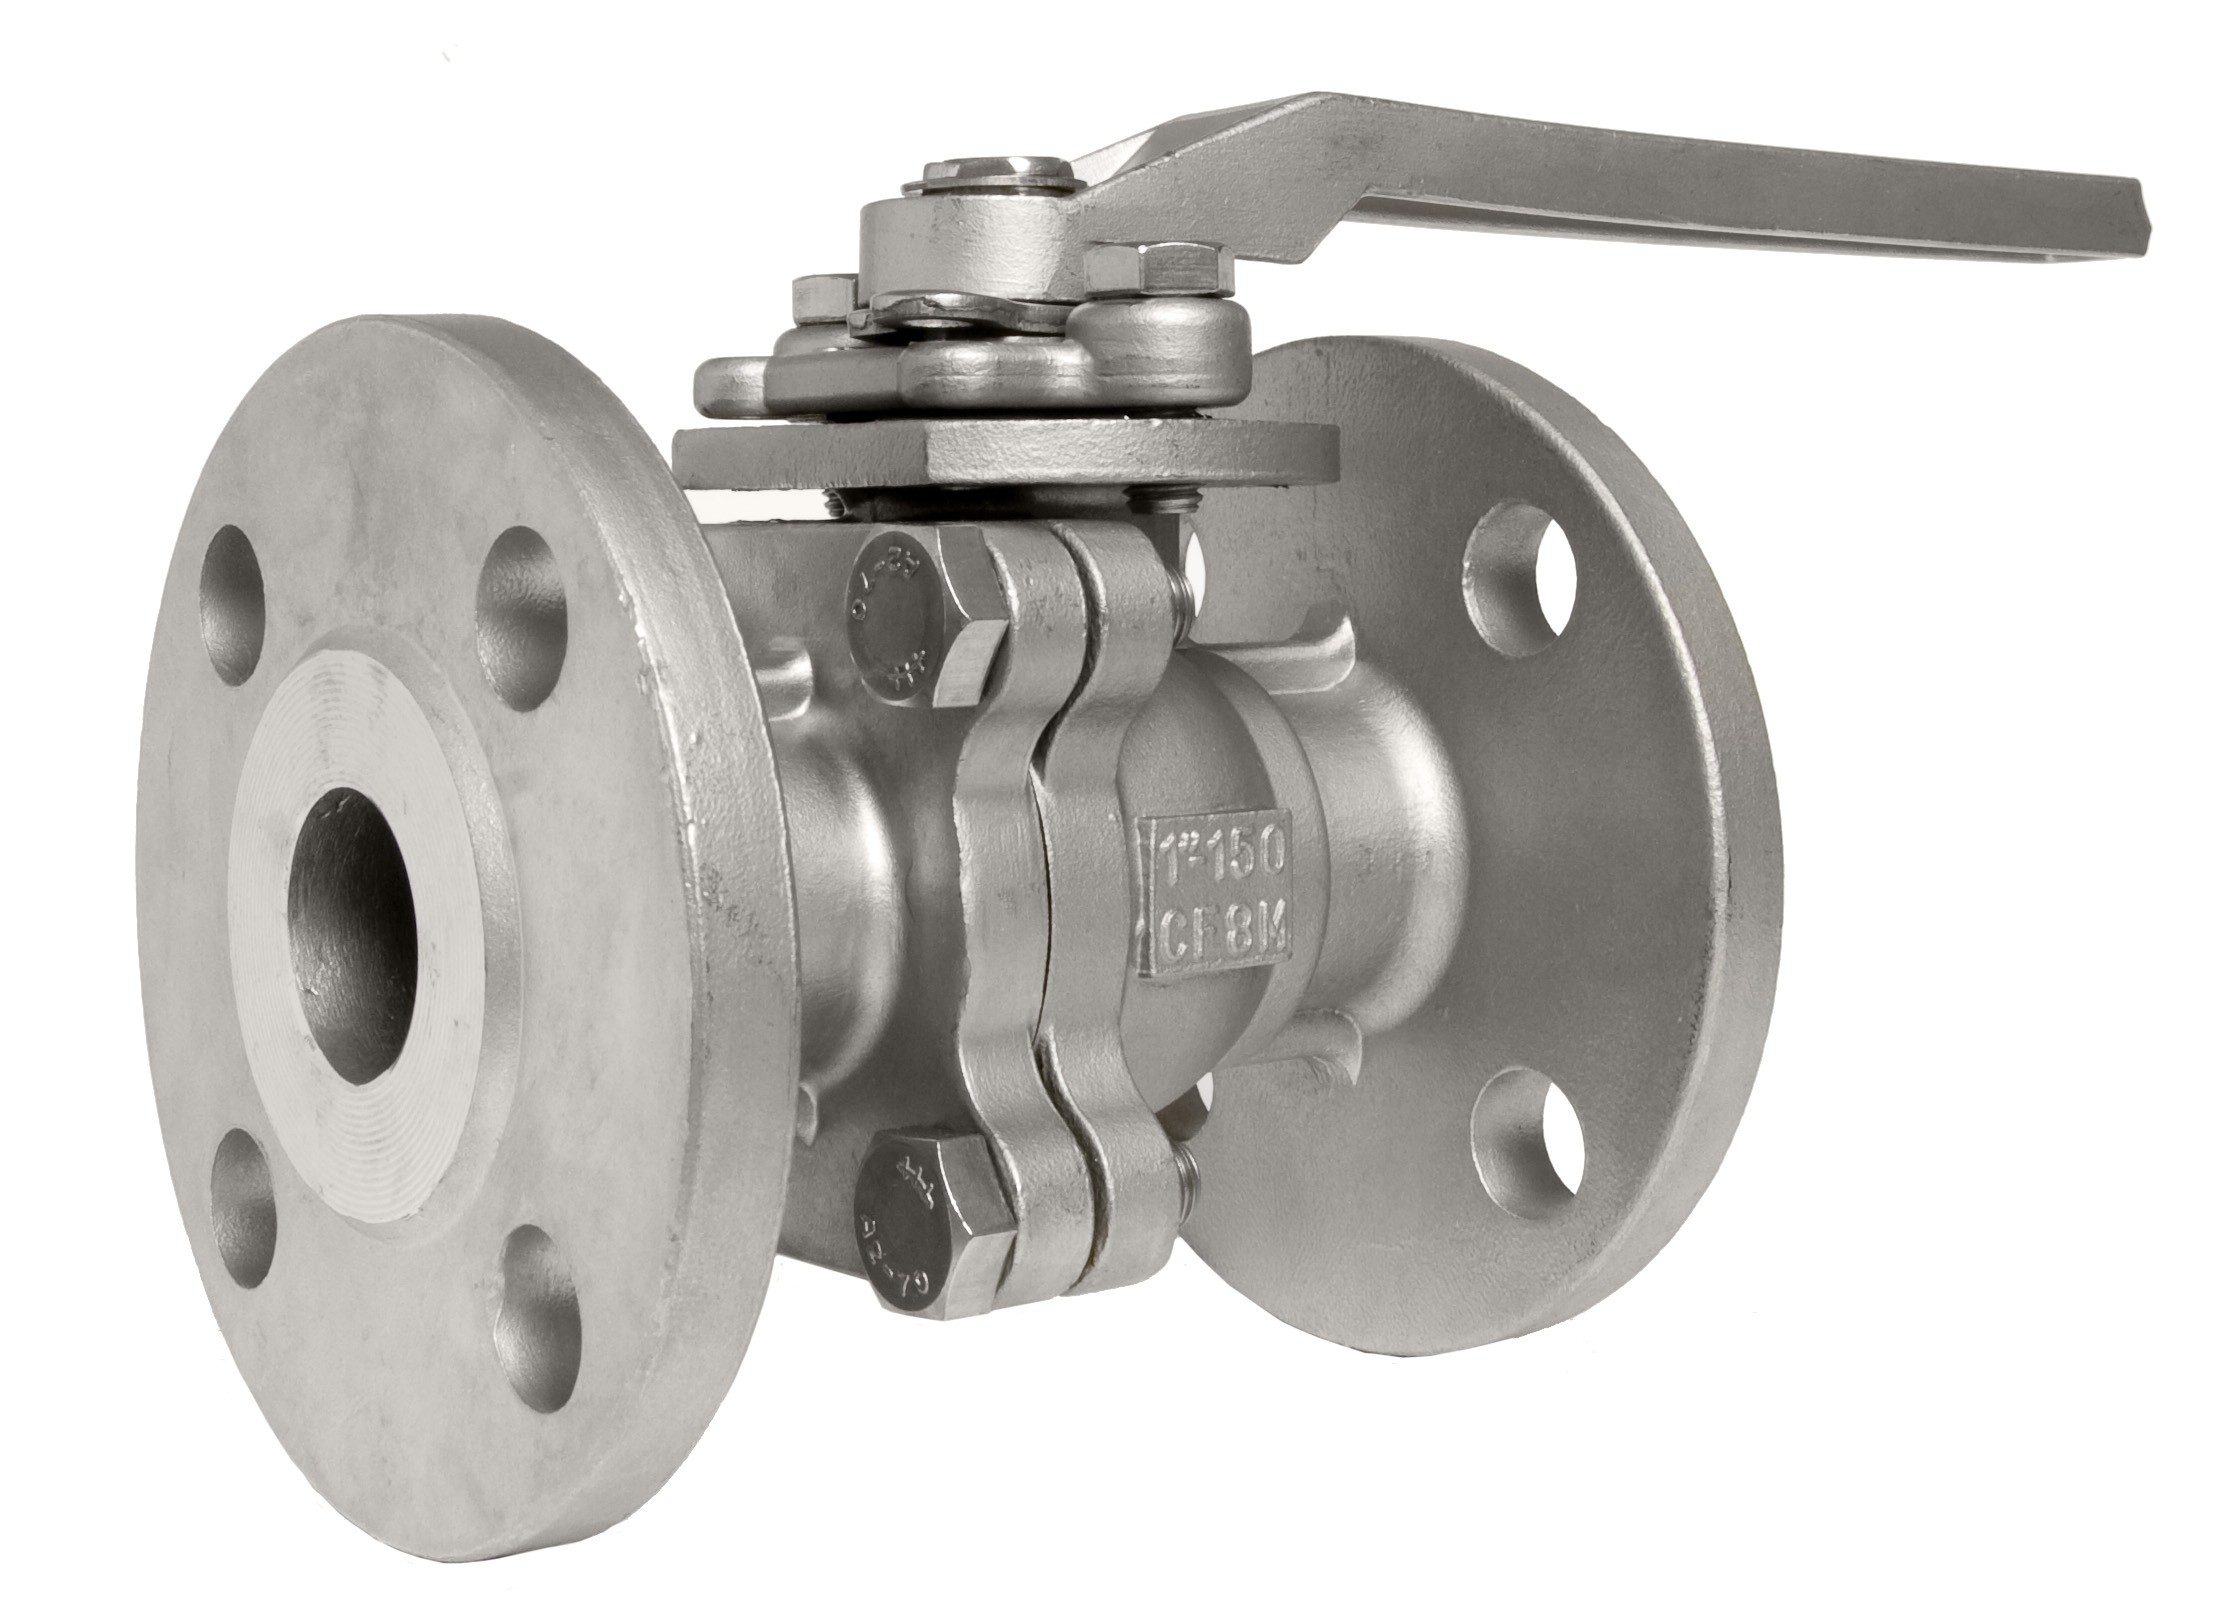
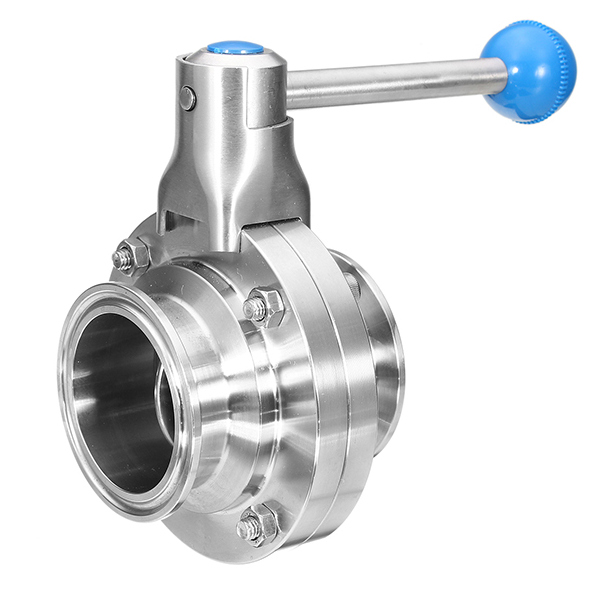
Threaded FNPT x FNPT, Flanged Class 150, Socket, Tri-Clamps |
| Ball Valve Product Group |
Manual |
| Temp. Range |
-60 Degrees to 450 Degrees F |
| Ball Material |
316 stainless steel |
| Item |
Ball Valve |
| Handle Material |
Stainless Steel |
| Port |
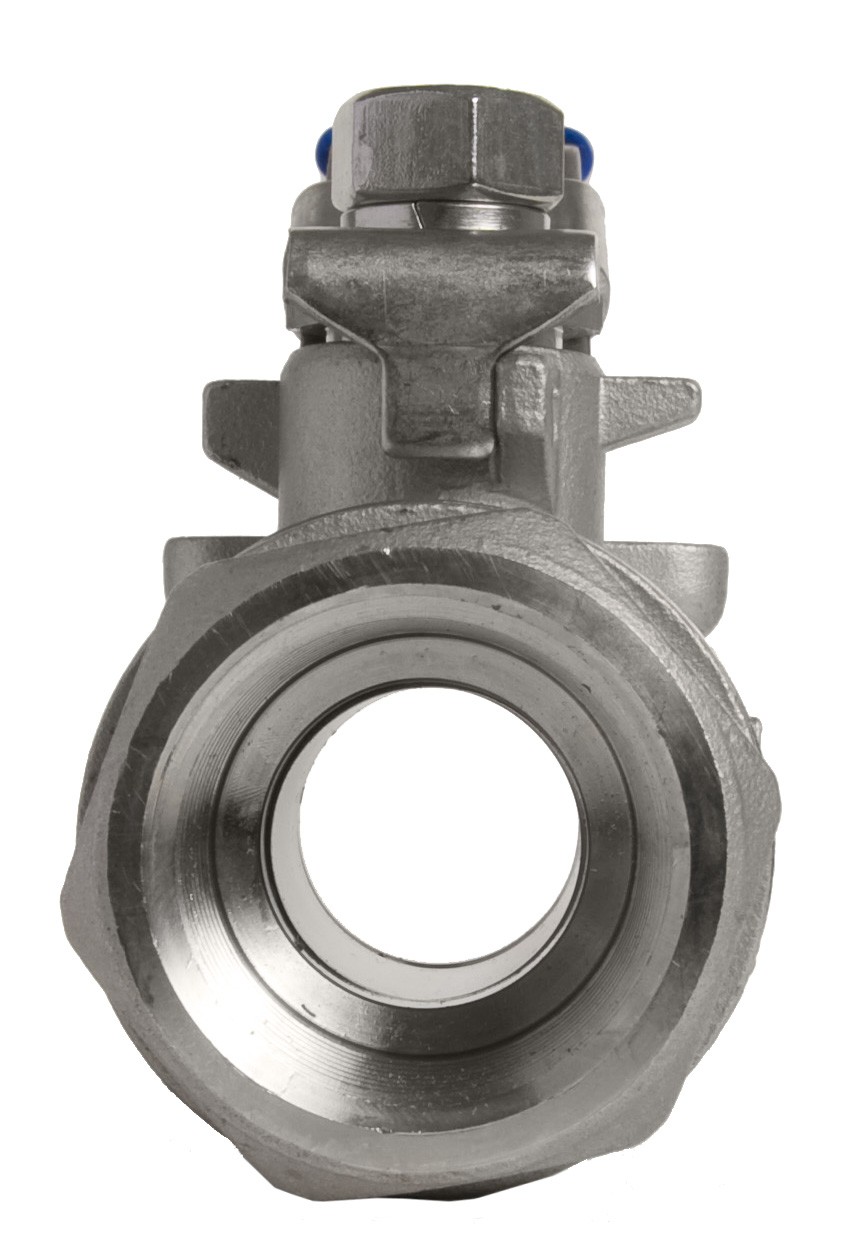
Full |
| Valve Structure |
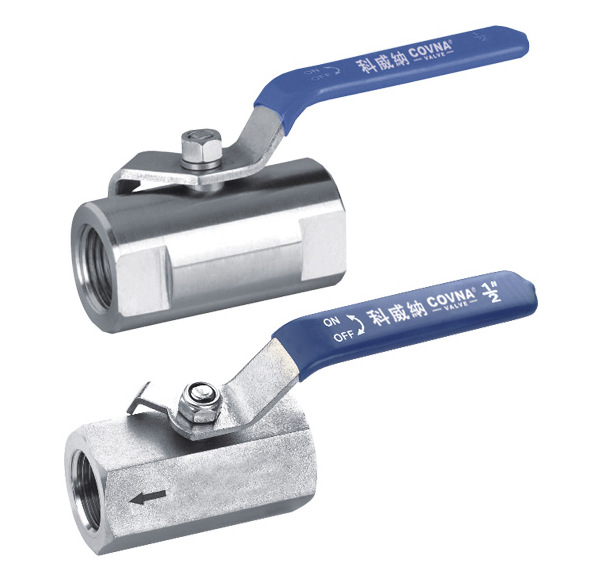
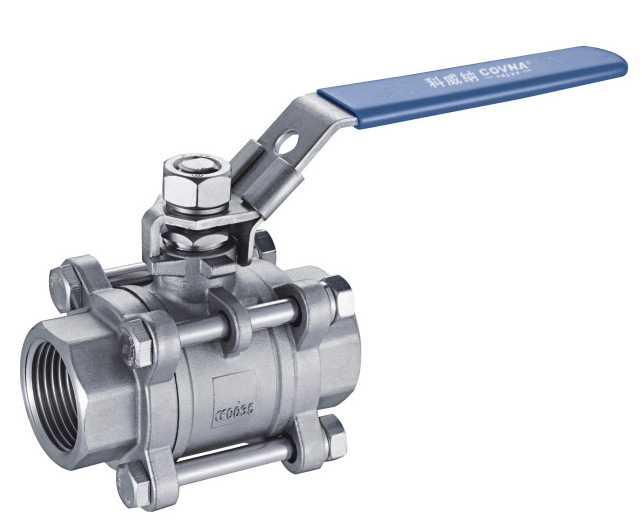
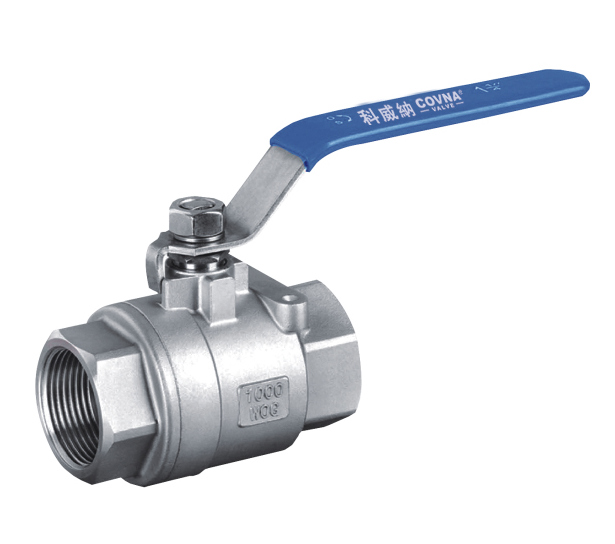
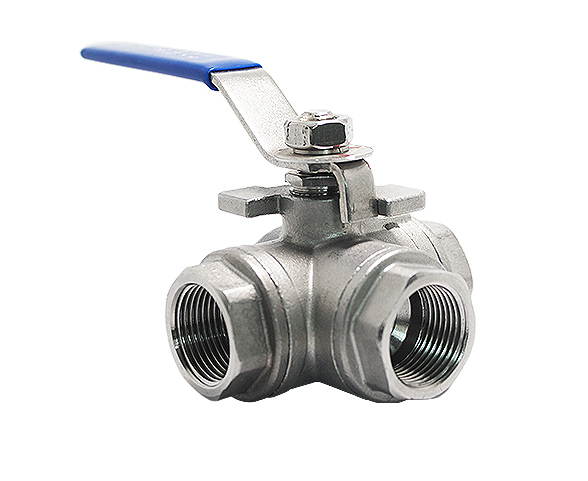
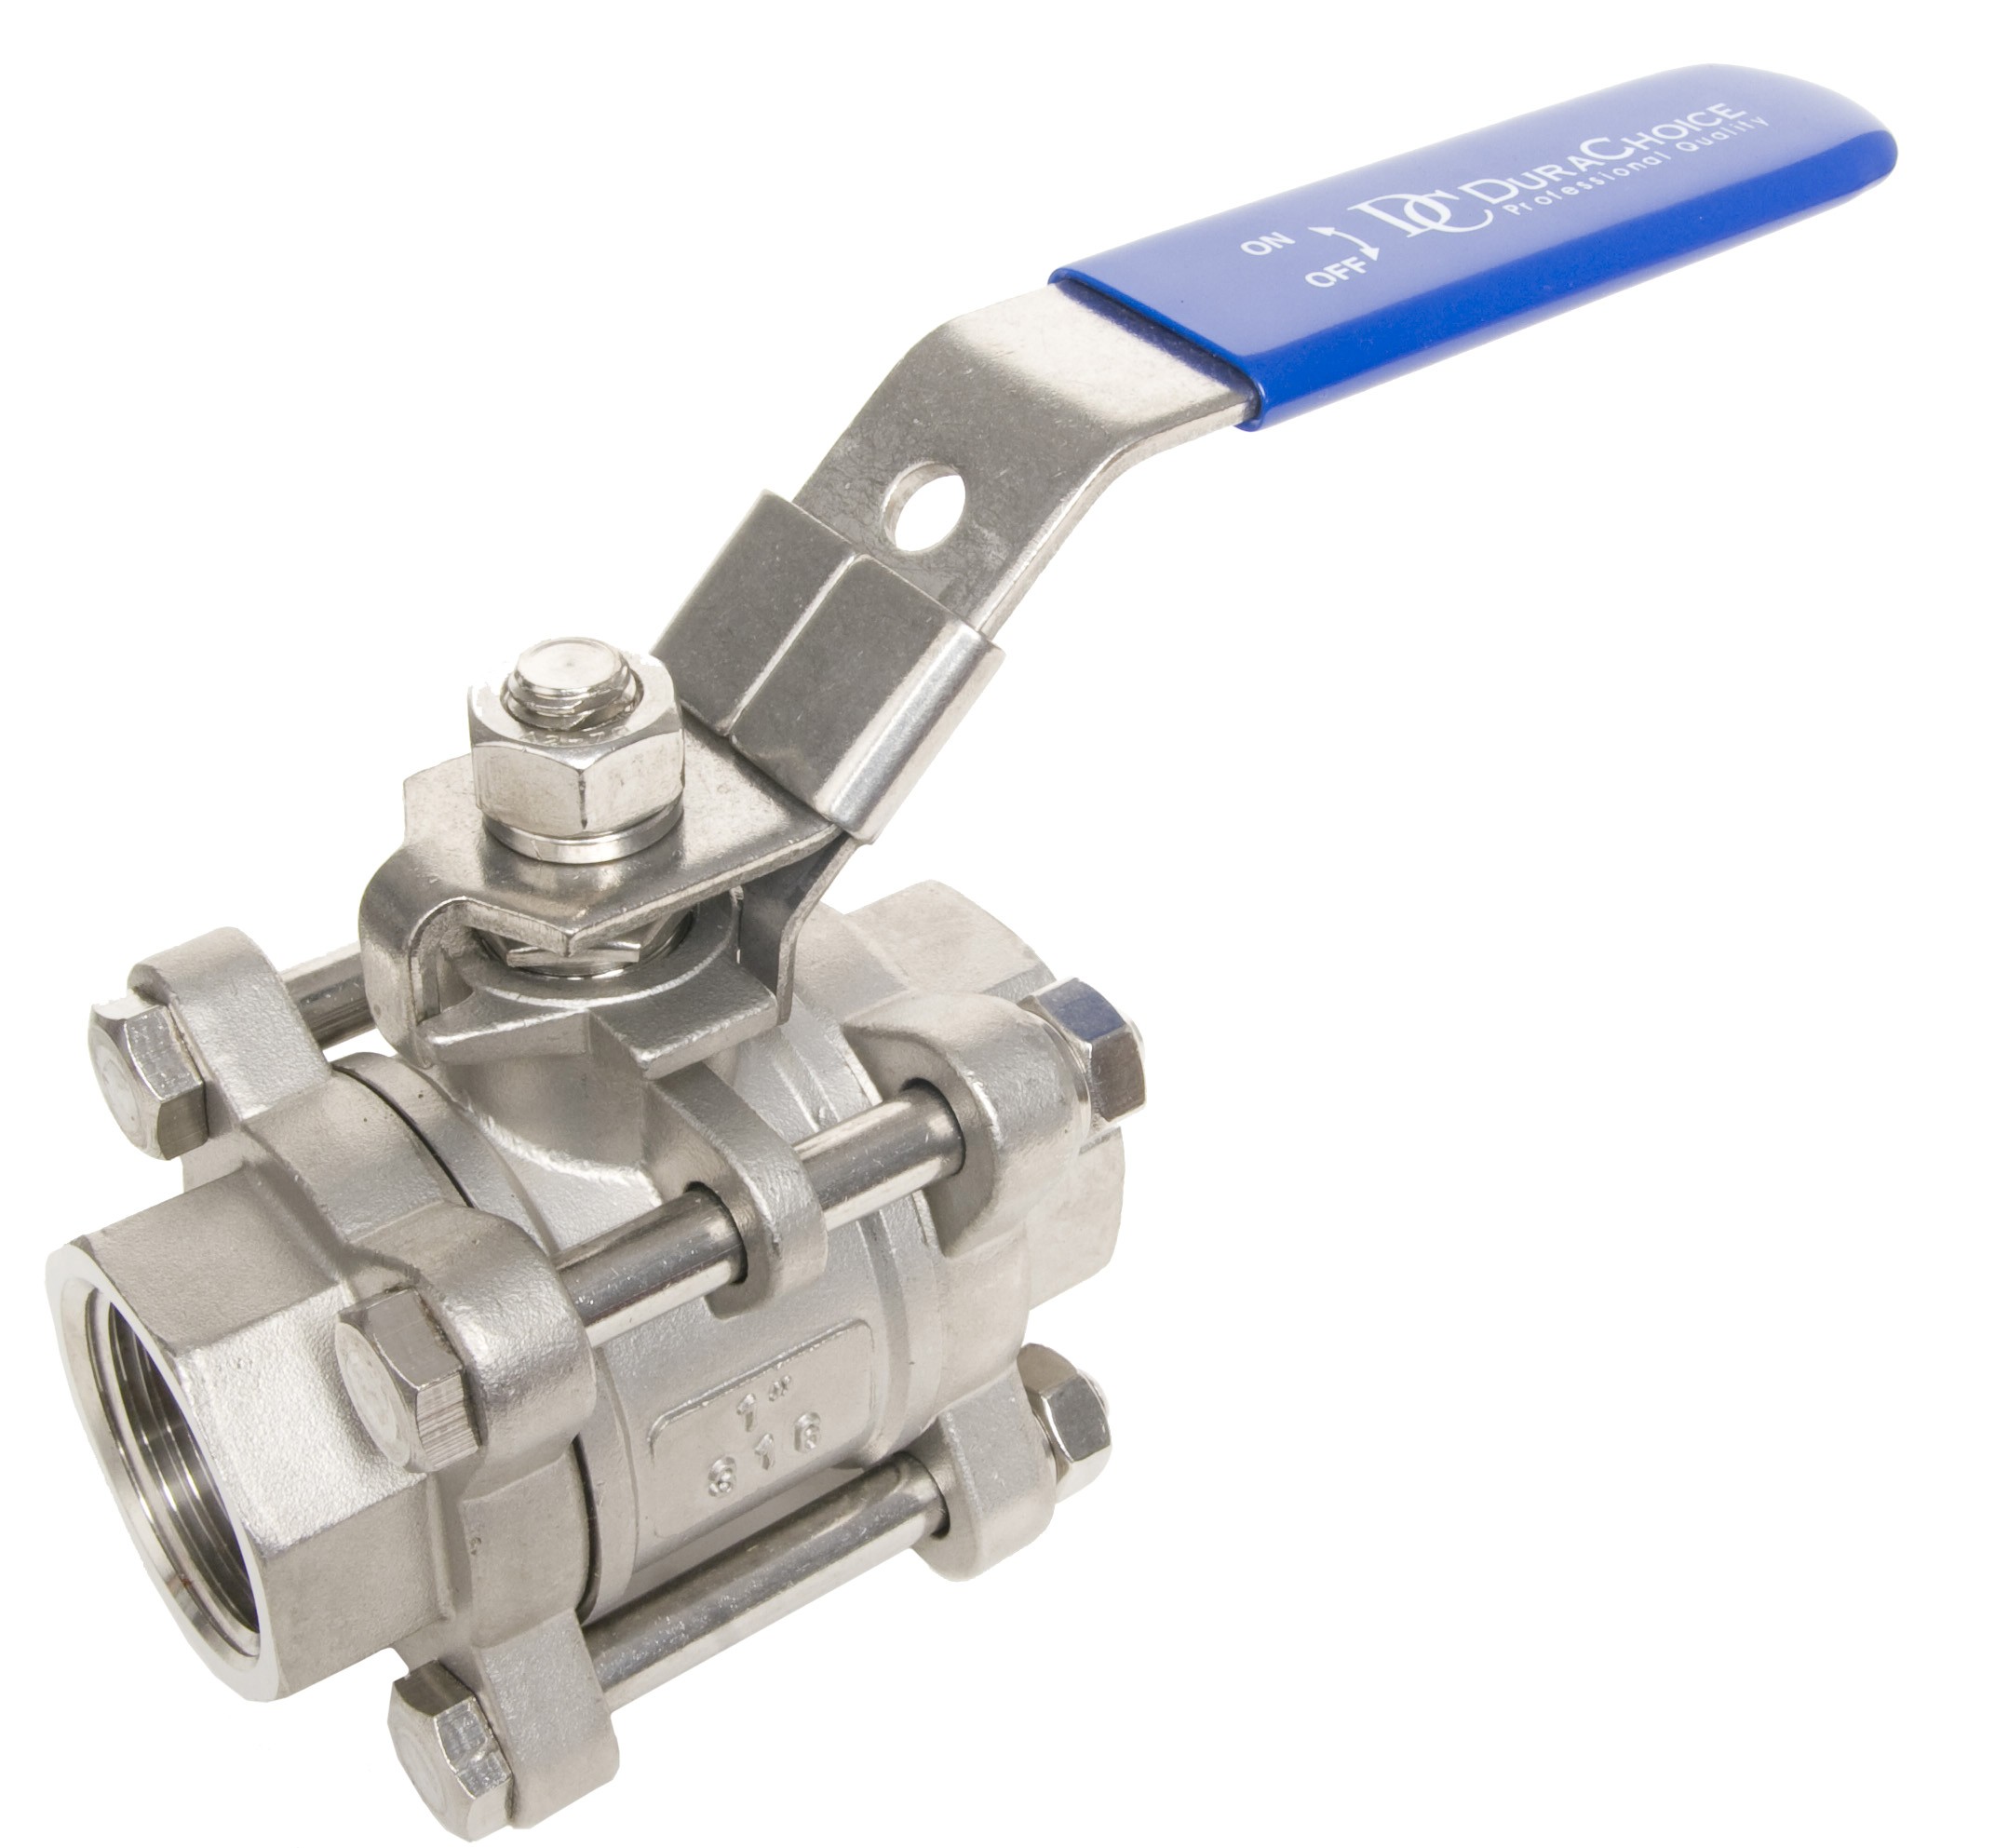
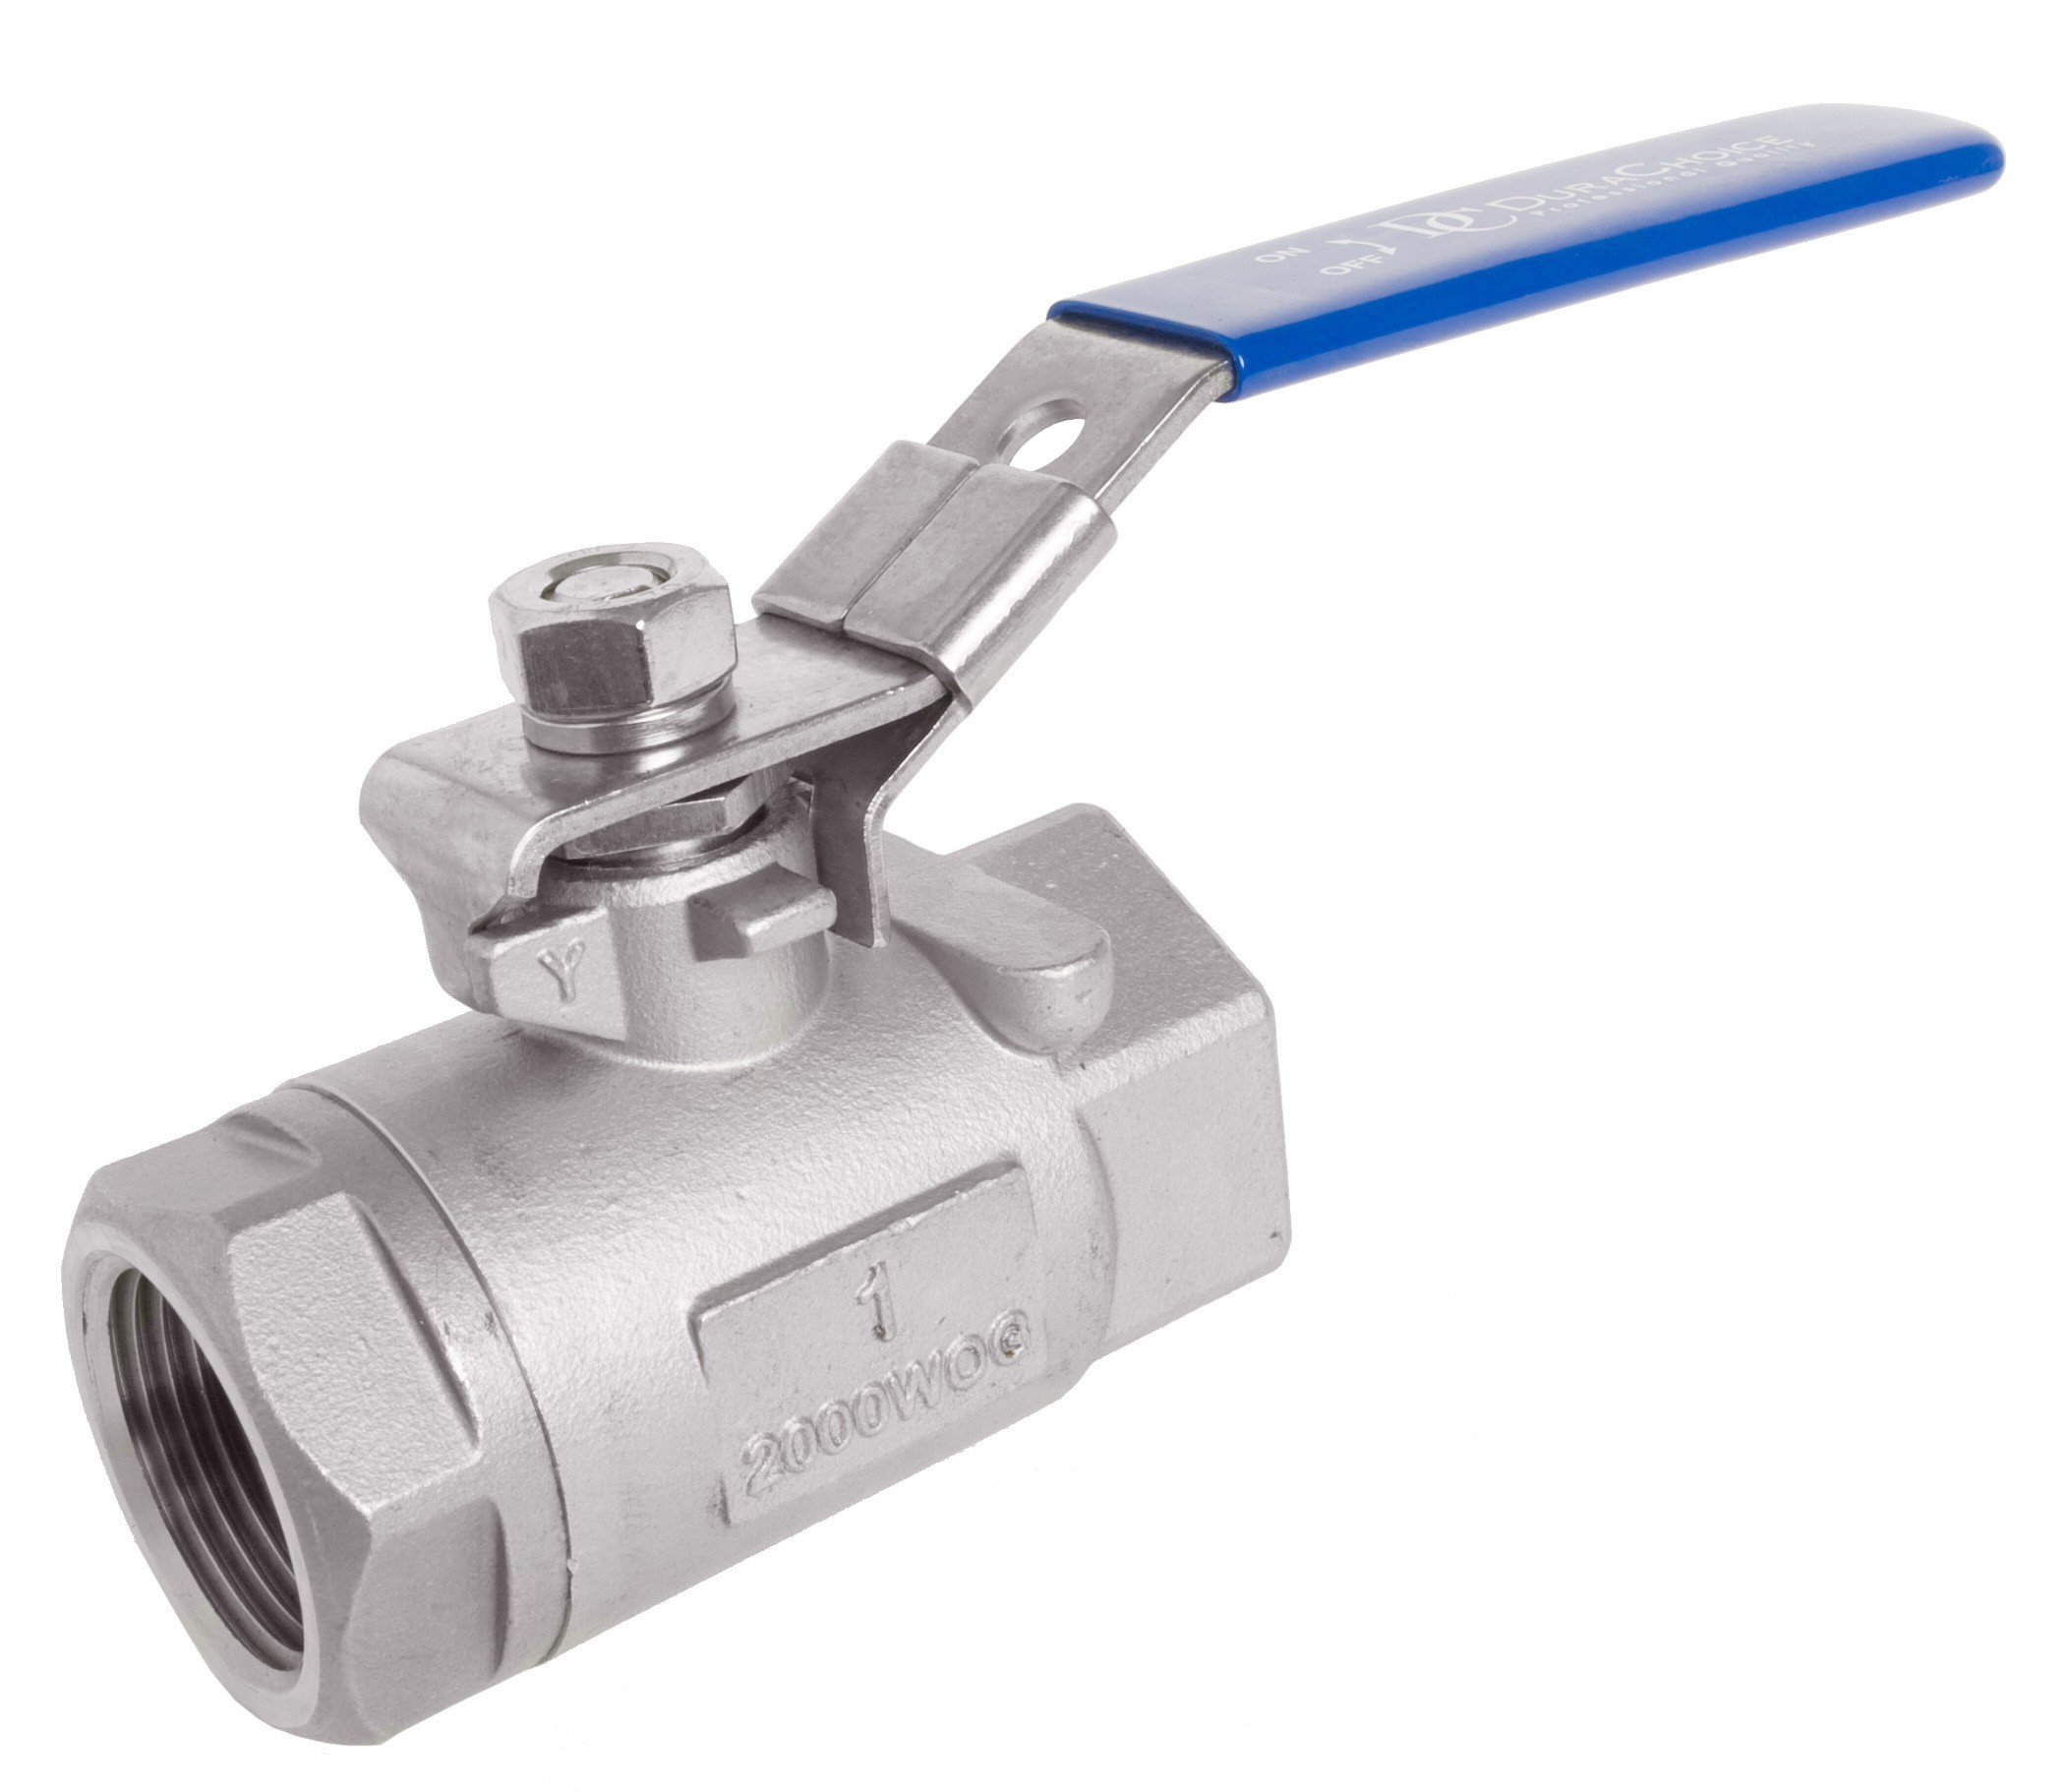
1, 2, and 3-Piece |
| Max. Steam Pressure |
150 PSI WSP |
| Stem Material |
316 Stainless Steel |
| General Connection Type |
Female NPT, RF Class 150 Flanged, Tri-Clamp |
| Sub-Category |
Stainless Steel Ball Valves |
|
Pieces
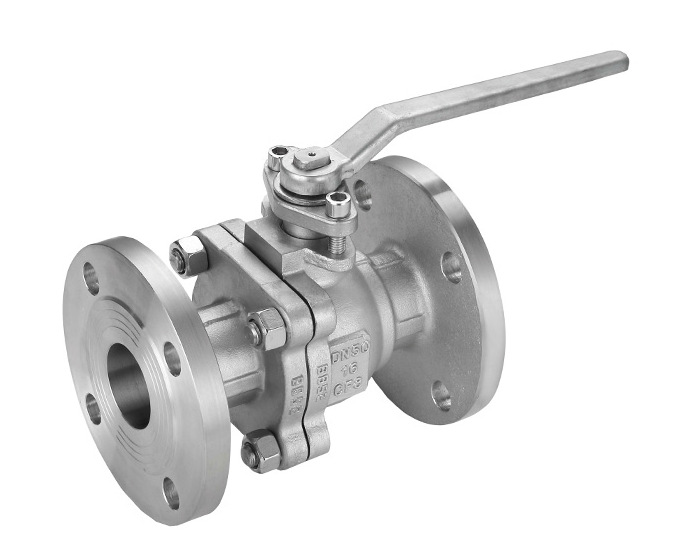
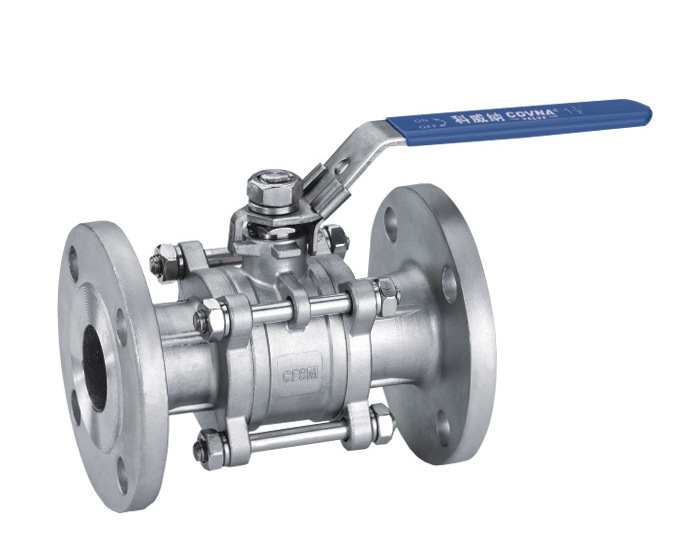
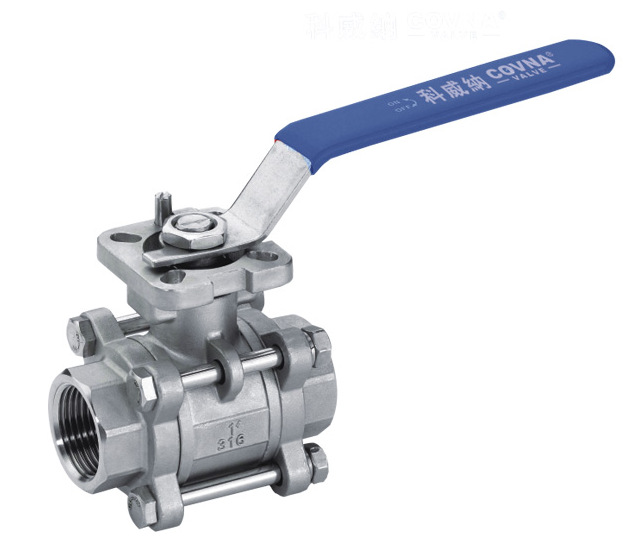
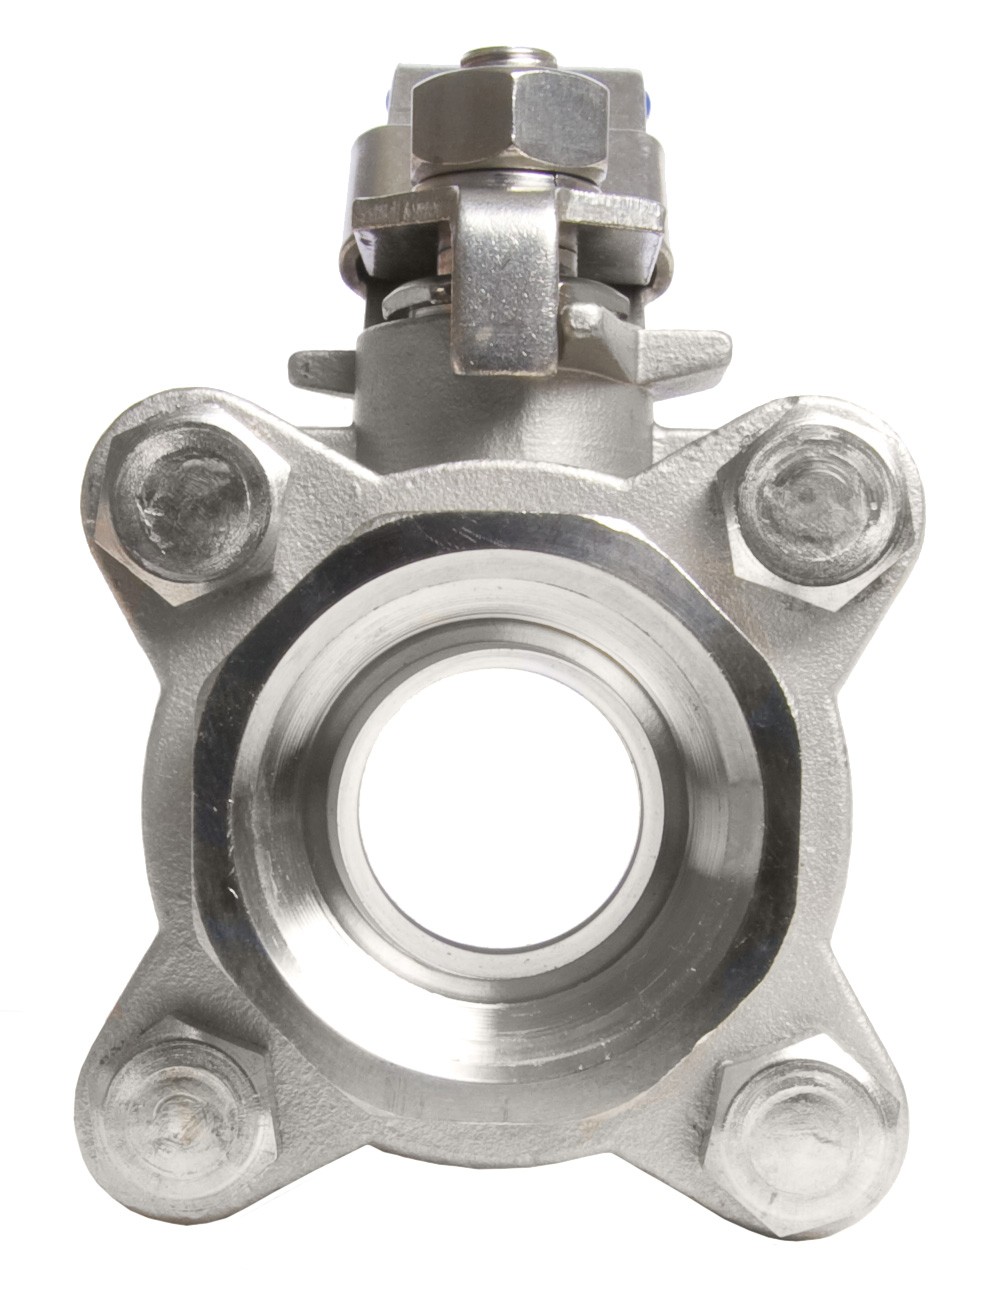
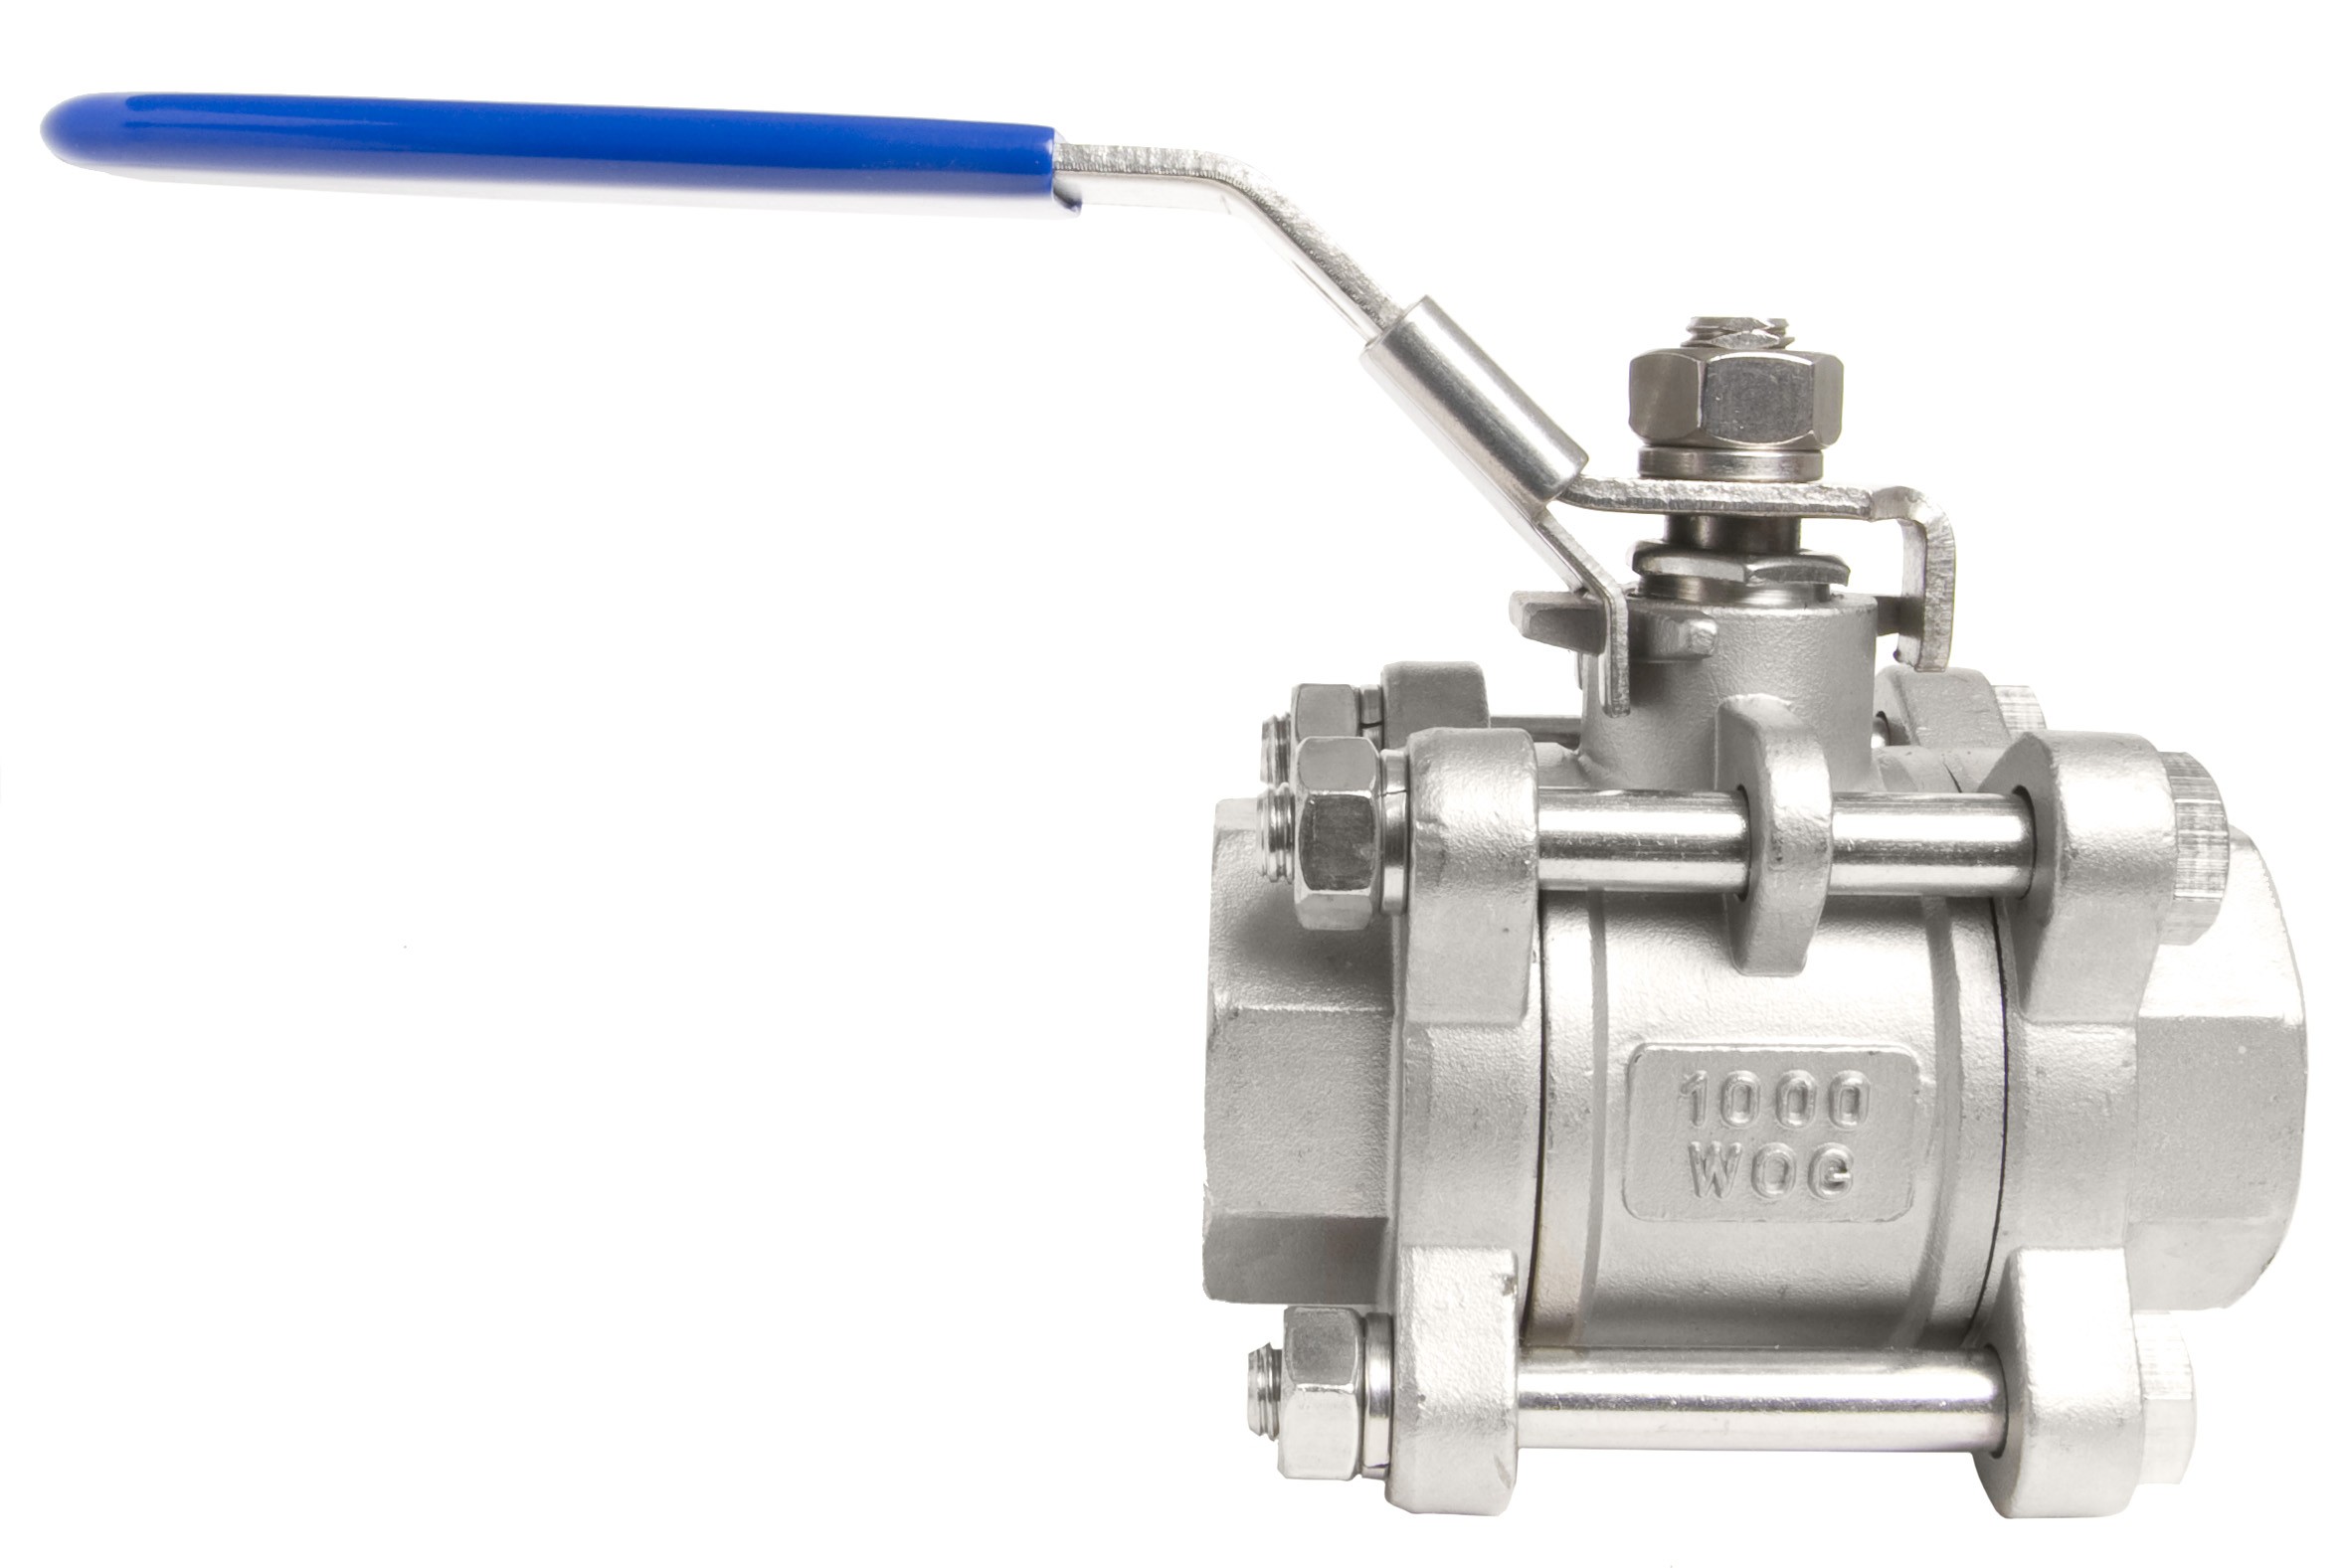
The primary difference between 1-piece, 2-piece, and 3-piece valves lies in their construction, maintenance, and ease of service. Understanding these differences can help in selecting the right type of valve for specific applications. Here’s a breakdown of the distinctions between these types of ball valves:
-
-
-
-
-
-
-
-
-
-
- 1-piece ball valves:
-
-
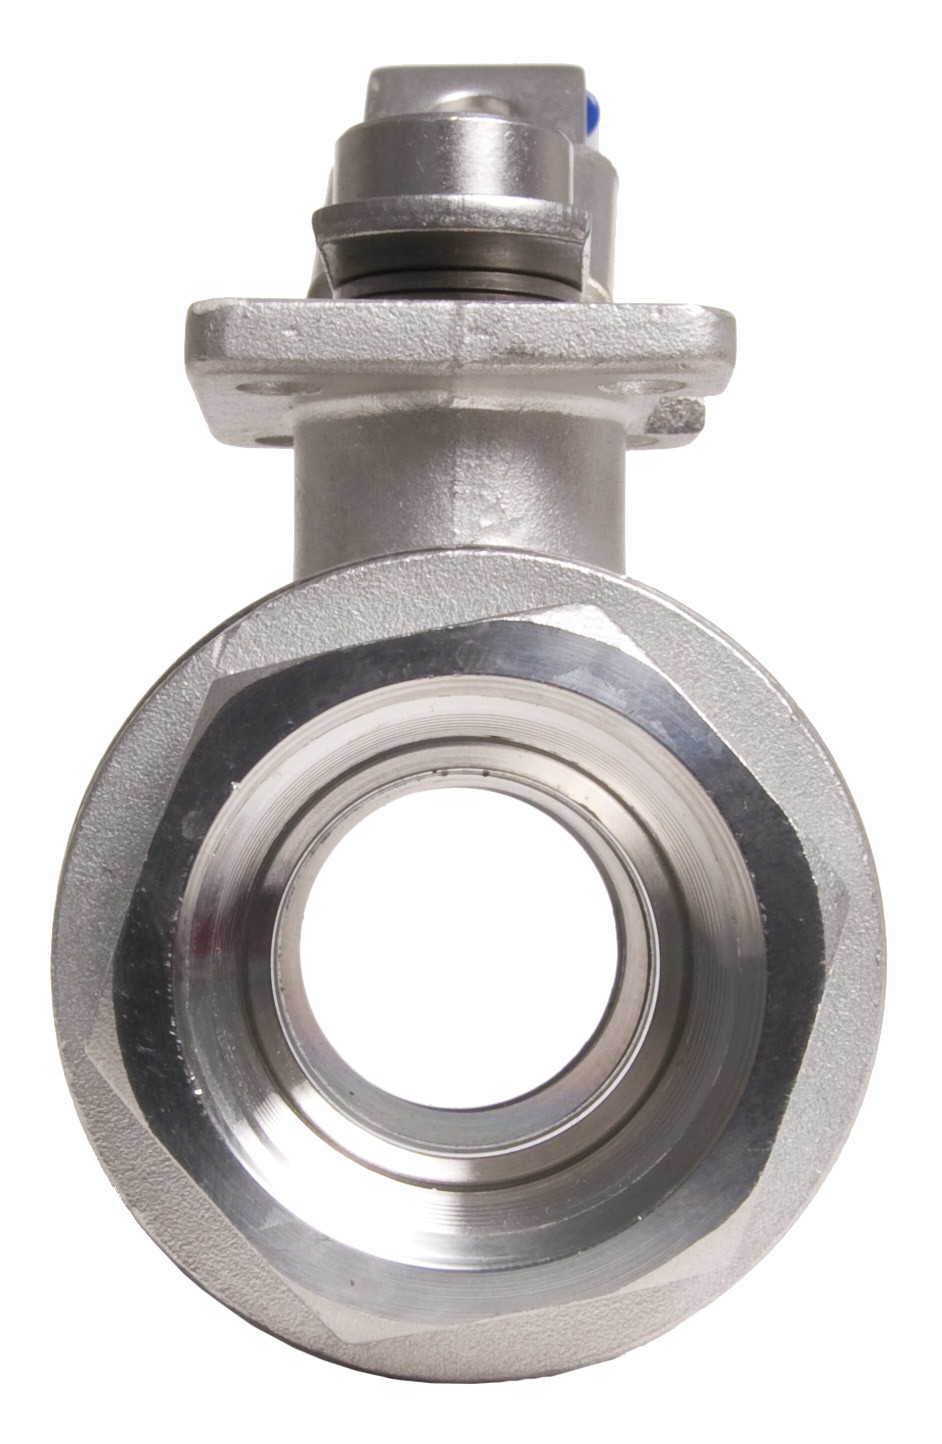
- Construction: 1-piece ball valves are integrated units where the body, ball, and end connections are all part of a single piece. This design offers a compact and simple configuration.
- Maintenance and repair: These valves are generally intended for applications where frequent maintenance or repair is not a primary concern. Due to their integrated design, 1-piece valves are not as easy to disassemble or service compared to multi-piece valves.
<li
>Cos
-
t and simplicity: 1-piece ball valves are often cost-effective and straightf
orward, mak
ing them suitable for applications where a basic, compact valve design is sufficient.
<l<
/ol>
</ol>i>2-
-
-
-
-
-
piece ball v
</ol>
alves:
<li
>tyle=”list
-style-type: none;”>
-
- “list-style-type: none;”>
-
- le=”list-style-type: none;”>>
- Construction: 2-piece ball valves consist of two separate pieces—the body and an end cap—that are bolted together. This modular design allows for easier disassembly and maintenance compared to 1-piece valves.</li>&amp;lt;/li><li>Mainte
- nance and repair: The two-piece construction permits maintenance and repair without requiring the entire valve to be removed from the pipeline. This contributes to reduced downtime and easier servicing.</li></li>
-
-
-
Flexibility and adaptability: 2-piece ball valves offer greater flexibility in ma
terial sele
ction and can be customized to suit
specific o
-
perating conditions, making them suitable for
a wide rang
- </u
<li style=”
list-style-
-
type: none
;”>l>
</li
>
- iece ball v
-
-
alves:
-
>Construction: 3-piece ball valves have an even more modular design, with the body and two en
d caps that
are bolted together. This construction allows for comple
te disassem
-
b
ly without
-
removing the entire valve from the pipeline.
- <li>Maintenance and repair: The 3-piece design
- offers the
-
- <ul>
-
- s=”yoast-text-mark”>le=”list-style-type: none;”>
- “list-style-type: none;”>
level of a
ntenance an
-
-
d repair, as the valve can be fully disassembled for i
nspection,<
cleaning,
component
ent. This m
-
-
- <ul>akes 3-piece valves ideal for applications
with string
-
- <ul>
- s=”yoast-text-mark”>tyle=”list-style-type: none;”>
>
nten</li>
ance requir
-
-
- yle=”list-style-type: none;”>
- Customization and serviceability: 3-piece ball valves allow for greater customization and repair options, as individual components can be replaced or modified, reducing overall maintenance costs over the valve’s lifecycle.
</ol
>
In summ
- le=”list-style-type: none;”>
-
ary, 1-piec
e ball val
-
ves are compact and straightforward, but offer li
mite
-
d serviceability and maintenance. 2-piece ball valves provide a balance between simplicity and ser
viceab
ility, making them sui
table for a
<ol><li style=”list-style-type: none;”>
wide range of applications. 3-p
iece ball
- <ol>valves offer the highest level of accessibility a
nd c
-
ustomization, making them ideal for applications with stringent maintenance needs and the requirem
ent fo
- ype: none;”>
-
r freque
nt adjustme
-
nts or repairs. Choosing t
he right ty
p
e of</p>
ball valve depends on the specific operational requirements and maintenance considerations of the application.</p>
Q&A
class=”yoast-text-mark”>class=”yoast-text-mark”>class=”yoast-text-mark”>class=”yoast-text-mark”>class=”yoast-text-mark”>class=”yoast-text-mark”>class=”yoast-text-mark”>class=”yoast-text-mark”>class=”yoast-text-mark”>class=”yoast-text-mark”>class=”yoast-text-mark”>class=”yoast-text-mark”>class=”yoast-text-mark”>style=”color: #121512;”>Q: What is a ball valve?
A: A ball valve is a type of valve used to control the flow of fluids, typically featuring a spherical closure unit (the ball) within the valve body that allows for opening and closing to control flow.
Q: What are the main advantages of using ball valves?
A: Ball valves are known for their reliability, tight shut-off capabilities, ease of operation, minimal maintenance requirements, and suitability for a wide range of applications and operating conditions.
e=”color: #121512;”>Q: What are the different types of ball valves?</p><p>e=”color: #121512;”>A: Ball valves come in various types, including full port, reduced port, single-piece, two-piece, three-piece, top-entry, cryogenic, and V-port ball valves, each designed to meet specific needs and applications.</p&gt;</p>
e=”color: #121512;”>Q: What are some common applications of ball valves?
<p><p style=”color: #121512;”>A: Ball valves are widely used in industries such as oil and gas, chemical processing, water and wastewater management, power generation, aerospace, pharmaceuticals, and general utility services.</p>
tyle=”color: #121512;”>Q: How do I select the right ball valve for a specific application?
requirements, flow control needs, material compatibility, environmental conditions, and any specific industry standards or regulations for guidance in selecting the appropriate ball valve.</p>
le=”color: #121512;”>Q: What are the main differences between 1-piece, 2-piece, and 3-piece ball valves?</p>
A: The primary differences lie in their construction, ease of maintenance, and repair capabilities. 1-piece valves are compact and integrated, 2-piece valves offer easier access for maintenance, and 3-piece valves provide the most accessibility for maintenance and customization.
Q: What is the process for installing a ball valve?
<p style=”color: #121512;”>A: The installation process involves preparing the workspace, selecting the appropriate valve, verifying its condition, preparing the pipeline, applying sealing materials, positioning and securing the valve, completing connections, conducting pressure tests, and verifying its alignment, tightness, and operation.
Q: Are ball valves suitable for throttling applications?</p>
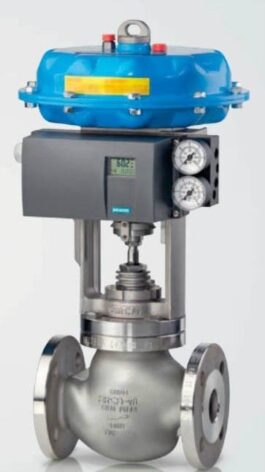
A: While ball valves can regulate flow to some extent, they are not typically considered optimal for precise throttling applications. For precise flow control requirements, other types of valves such as globe valves or control valves are often more suitable.
=”yoast-text-mark”>: #121512;”>Q: How can I ensure the proper maintenance of ball valves?</p>
<p>yle=”color: #121512;”>A: Regular maintenance involves inspecting for leaks, verifying proper operation, cleaning the valve and its components, lubricating moving parts as needed, and replacing any worn or damaged seals or gaskets to ensure optimal performance.</p>
Q: What precautions should be taken when working with ball valves in hazardous environments?
A: In hazardous environments, it is crucial to adhere to safety guidelines, use appropriate personal protective equipment, follow industry-specific regulations, and consider the use of valves constructed from materials suitable for hazardous or corrosive fluids.
This Q&A provides a range of information that can help individuals understand the basics of ball valves, their applications, and considerations for selecting, installing, maintaining, and operating them in various industrial and commercial settings.
Installation
class=”yoast-text-mark”>class=”yoast-text-mark”>class=”yoast-text-mark”>class=”yoast-text-mark”>class=”yoast-text-mark”>class=”yoast-text-mark”>class=”yoast-text-mark”>class=”yoast-text-mark”>class=”yoast-text-mark”>class=”yoast-text-mark”>class=”yoast-text-mark”>class=”yoast-text-mark”>class=”yoast-text-mark”>style=”color: #121512;”>The installation of ball valves is a critical process that requires careful attention to ensure the valve operates effectively and safely within the intended system. Here’s a detailed procedure for the installation of ball valves:
-
-
-
-
-
-
- <ol style=”color: #121512;”>
-
<l
i style=”li<ol style=”color: #121512;”>st-style-type: none;”>
-
tyle=”color: #121512;”>
- style=”list-style-type: none;”>
e=”color: #121512;”>
- “list-style-type: none;”>
- <ol style=”color: #121512;”>
- Prepare the workspace: Begin by ensuring that the installation area is clean, well-lit, and free from any obstructions. Clear debris and ensure that the pipeline is properly supported and aligned.
- Select the appropriate valve: Choose a ball valve that is suitable for the specific application, taking into account factors such as fluid type, pressure, temperature, and flow requirements.</li>&l</ol
>
t;</li></o</li></ol>
l>li>Ver<ol sty
le=”color:
#121512;”>
-
class=”yoast-text-mark”>
-
“color: #121512;”>ify t<l
</li>
i cl<ol class=”yoast-text-mark”>ass=”yoast-text-mark”>”list-style-type: none;”>
-
- <ol class=”yoast-text-mark”>s=”yoast-text-mark”>
-
-
color
: #1215</ol
>
- </ol
-
>12;”
-
>
- <ol style=”color: #121512;”>he valve condition: Before installation, inspect the ball valve to en</li></li></li>
</ol></
-
li>sure
- none;”><ol class=”yoast-text-mark”>
-
tyle=”col
</li></ol</ol>
>or: #12151
2
-
;”>
- >e=”list-style-type: none;”>
-
-
- e=”list-style-type: none;”>
e=”color: #121512;”>
</
ol>;it is f
ree
-
-
from
any damage
or d
</ol
>
efec
- le=”list-style-type: none;”>
-
-
-
<li
style=”lis
-
t-style-type: n
one;”>&l
t;ol style=”color: #121512;”>
- ype: none;”>
ts
<
/ol><li style=”list-style-type: none;”>. Chec</ol>
-
tyle=”color: #121512;”>
- =”list
-
-
style=”color: #121512;”>-style-type: none;”>&
lt;ol style
=”color: #121512;”>k for
</li>
</li></li>
prop</p><ol style=”color: #121512;”>
- <ol style=”color: #121512;”>er operation of the valv
e, i
ncluding the actuator (if appl
icable), th
- style=”list-style-type: none;”>
<l
i style=”li</p>
-
“color: #121512;”>st-style-type:
none;”>
;
-
-
e=”col
or: #121512
-
;”>e ball
movement, a
nd
the integr<ol style=”color: #121512;”>
<ul>
- =”list-style-type: none;”>
ity of seals a
nd g
as
kets.</li>
ine: P
and cu
o ac
commodate the ball valve. Ensure that the ends of the pipeline are clean, smooth, and free from any burrs or contaminants that could affect the valve’s performance.<
li>Apply appropriate sealing materials: Depending on the design of the ball valve and the type of connection (e.g., threaded, flanged, or welded), apply the appropriate sealing materials such as thread sealant, gaskets, or pipe joint compound as recommended by the valve manufacturer.
- Position the valve: Carefully position the ball valve in the pipeline, ensuring that it is aligned correctly and that the flow direction indicated on the valve matches the direction of the media flow.
<li><li&g
-
“color: #121512;”>t;Secure
the
<ol>v<p></li></ol>
alve
-
-
le=”color: #121512
;”><<
/ol>
li>tyle=</l</p>
i>
“list-style-type: none;”>
-
lass=”yo
ast-text-ma
rk”>
2151
<ol class=”yoast-text-mark”>
-
-
lass=”yoast-text-mark”&g
t;2</li>;”>
- tyle=”list-style-type: none;”>
: If the valve is a fla
nged type,
-
-
-
sty
</o
l>
le=”co
-
-
-
-
>lor: #121512;”&g
<p>t;
-
- style=”list-style-type: none;”><ol style=”color: #121512;”>
-
-
- yle=”list-style-type: none;”><ol class=”yoast-text-mark”>yle=”color: #121512;”>ensure that the flanges are
</li>
prop
-
-
-
-
-
-
- “list-style-type: none;”>
=”yoast-text-mark”>e
</o
l>
</ol>
r</o
-
-
-
-
-
-
l>
</ol>
ly aligned
-
-
-
-
-
a
</ol
>nd tighten
-
-
-
-
-
le=”color: #121512;”>e
-
- e=”list-sty
le-type: none;”>
-
-
-
-
-
d
as per t</
-
-
-
-
-
ol>
he m
<ol class=”yoast-text-mark”>
-
-
-
-
-
-
ss=”yoast-text-mark”>tyle=”color: #121512;”><li
class=”yoa
-
-
-
-
-
- e=”list-style-type: none;”>
<li style=”list-st
yle-type: n
-
-
-
-
-
one;”><li
style
-
-
-
-
-
=”list-style-type: none;”>
-
st-text-mark”>class=”yoast-text-mark”>style=”list-style-type: none;”><ol class=”yoas
t-text-mark
-
-
-
-
-
-
“>: #121512;”
>
-
-
-
-
-
- le=”list-style-type: none;”><ol style=”color: #121512;”>
-
- anufacturer
‘s spec
ifications.
-
For threaded
- c
<ol
-
-
-
class=”yoast-text-mark”>onnection
-
style=”color: #121512;”>s, use
appr<ol style=”color: #121512;”>opriate torque to secur
e the valve
-
-
-
without over-tightening.</li
>
-
-
-
le
<ol style=”color: #121512;”>
-
-
-
- <ul><li style=”list-style-type: none;”>
</li></ul>class=”yoa
</li>
<p>ark”>s
-
-
-
- e=”list-style-type: none;”>
-type:
-
-
-
none;”>
-
tyle=”color: #121512;”><</ol>
li style=”l
-
-
-
-
<l
i style=”li
-
-
-
- <ol style=”color: #121512;”>st-style-type: none;”><
ol style=”c
-
-
-
-
olor: #121512
;”>
-
-
-
l>i st
e: n
-
-
-
-
-
-
-
-
-
one;”></o
l>
</ol>;
<li
class
-
-
-
-
=”</yoastmark”>”yoast-text-mar
k”&g
-
-
-
t;e=”list-style-type: none;”>
-
-
=”yoast-tex
-
-
t-mark”>style=”color: #121
512;</li>
“>te c
-
-
-
-
onnections: If t
he b
-
-
-
all valve is part of a
<
/ol></ol>
</ol>
larger sys
<li styl
-
-
-
e=”list-style-type: none;”>
-
-
-
-
tyle=”color: #121512;”><
li class=”y
-
oast-text-mark”>le=”list-style-type: none;”>
-
-
-
-
- ype: none;”>
-
- tyle=”list-style-type: none;”><ol style=”color: #121512;”>t</ol>
</ol>
em,</li&gt;</li>
</
ol>
</ol>
complete th
-
-
-
-
-
- <ol style=”color: #121512;”><li style=”list-style-type: none;”>
-
style=”color: #121512;”>
-
-
<li style=”list-st
yle-type: n
one;”>
</ol
>;
- “list-style-type: none;”>
-
yle=”color: #121
512;”>
-
-
-
- le=”list-style-type: none;”>
-
-
e n</ol
>
ecessary co<ol style=”color: #121512;”>nnections
</li>
wit
h appro
-
priate pi</ol
>
- pe fittings
- <ol style=”color: #121512;”>
-
, adapter
s, or acc</
ol>
esso
-
-
-
ries
</li></li>to integrat
-
-
-
-
-
le=”co
lor: #12151
-
2;”><li
style
=”list-style-type: none;”>
-
le=”color: #121512;”>e the valve
int
-
-
-
l
>&l
-
-
-
t;/ol>
</ol>
system
effe
-
-
-
-
<li style=”list-
style-type:
-
-
-
none;”>
-
e=”color: #121512;”><l
i st
-
-
-
-
-
yle=”list-style-type: none;”>
-
- e=”list-style-type: none;”>
-
-
- =”list-style-type: none;”>
ctively.
- Verify tightness and alignment: Double-check all connections and ensure that they are properly tightened, sealed, and aligned according to the valve manufacturer’s guidelines.
- Conduct pressure tests: After installation, conduct pressure tests to verify the integrity of the system and the newly installed ball valve. Follow industry standards and safety procedures when conducting pressure testing.</li></li></li><li
>Docum
- e
- nt and label: Properly document the installation process and label the ball valve with necessary information such as operating instructions, service dates, and any specific operational details relevant to the valve.
<li>Perform operationa
l checks: O
-
-
-
-
-
-
-
li class=”yoast-text-mark”>le=”list-style-type: none;”>
-
-
-
=”col
or: #1
21512;”>nce the
installa</
-
ol>
tion i
-
-
-
fy t
-
-
-
-
he operation of the ball valve by opening and closing it to ensure that it functions correctly and smoothly.
</li><p class=”yoast-text-mark”>tyle=”color: #121512;”>It’s important to note that the installation procedure may vary depending on the specific type of ball valve, the requirements of the system, and industry standards. Always refer to the manufacturer’s installation guidelines and follow the appropriate safety procedures and best practices to ensure a successful and reliable installation.





Reviews
There are no reviews yet.